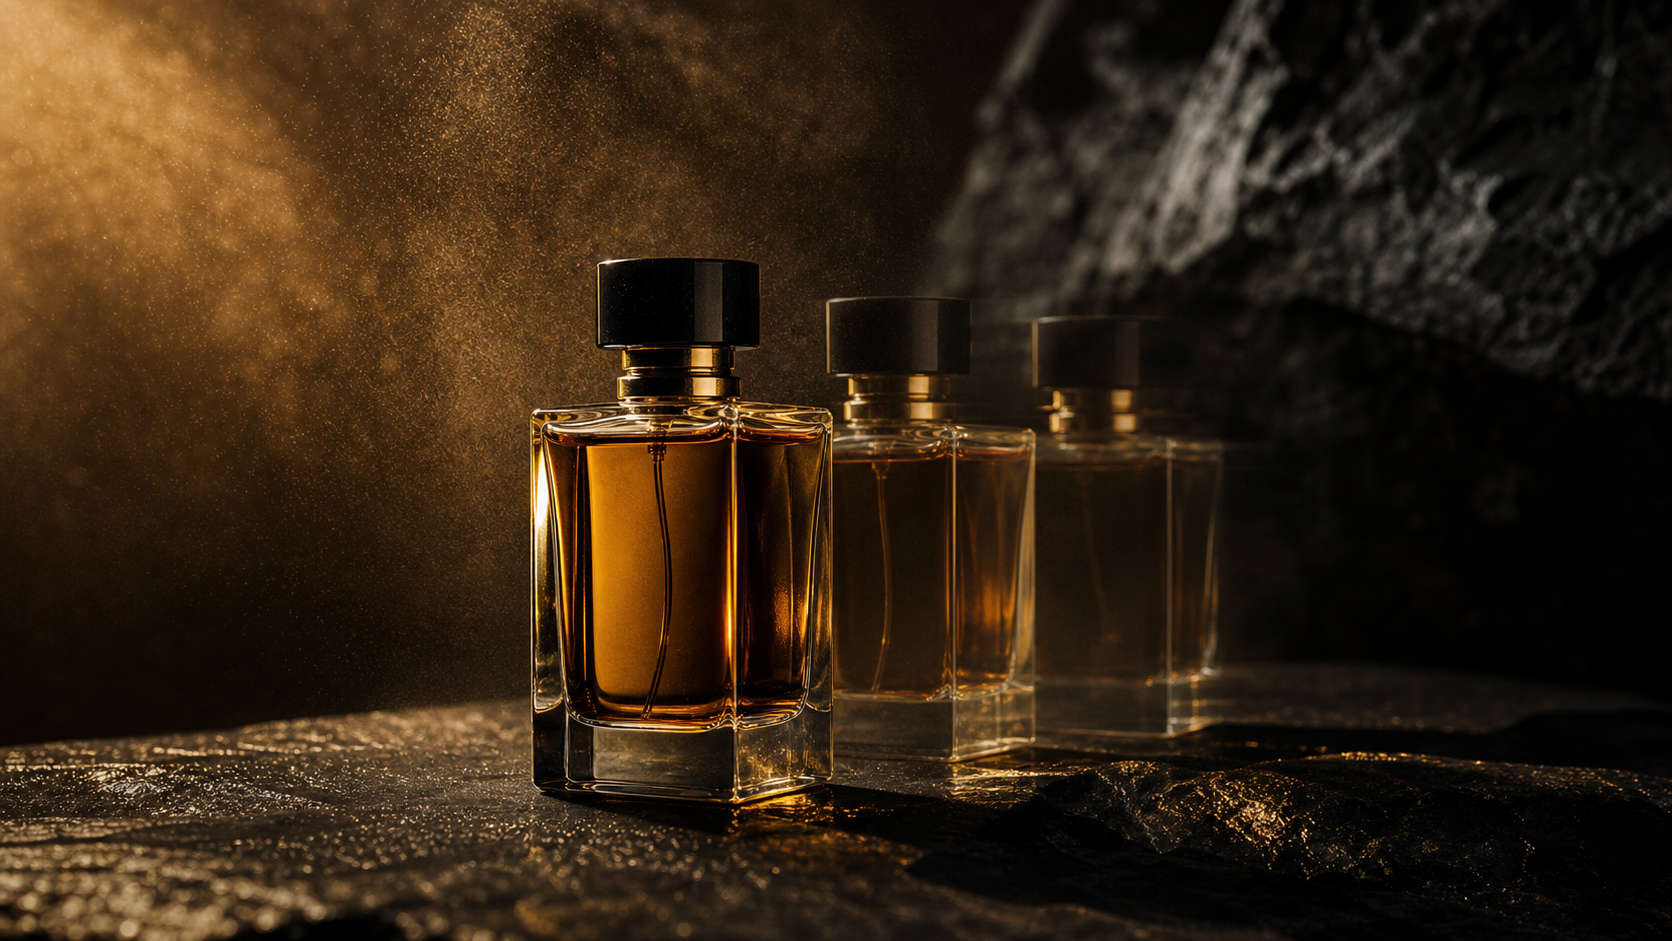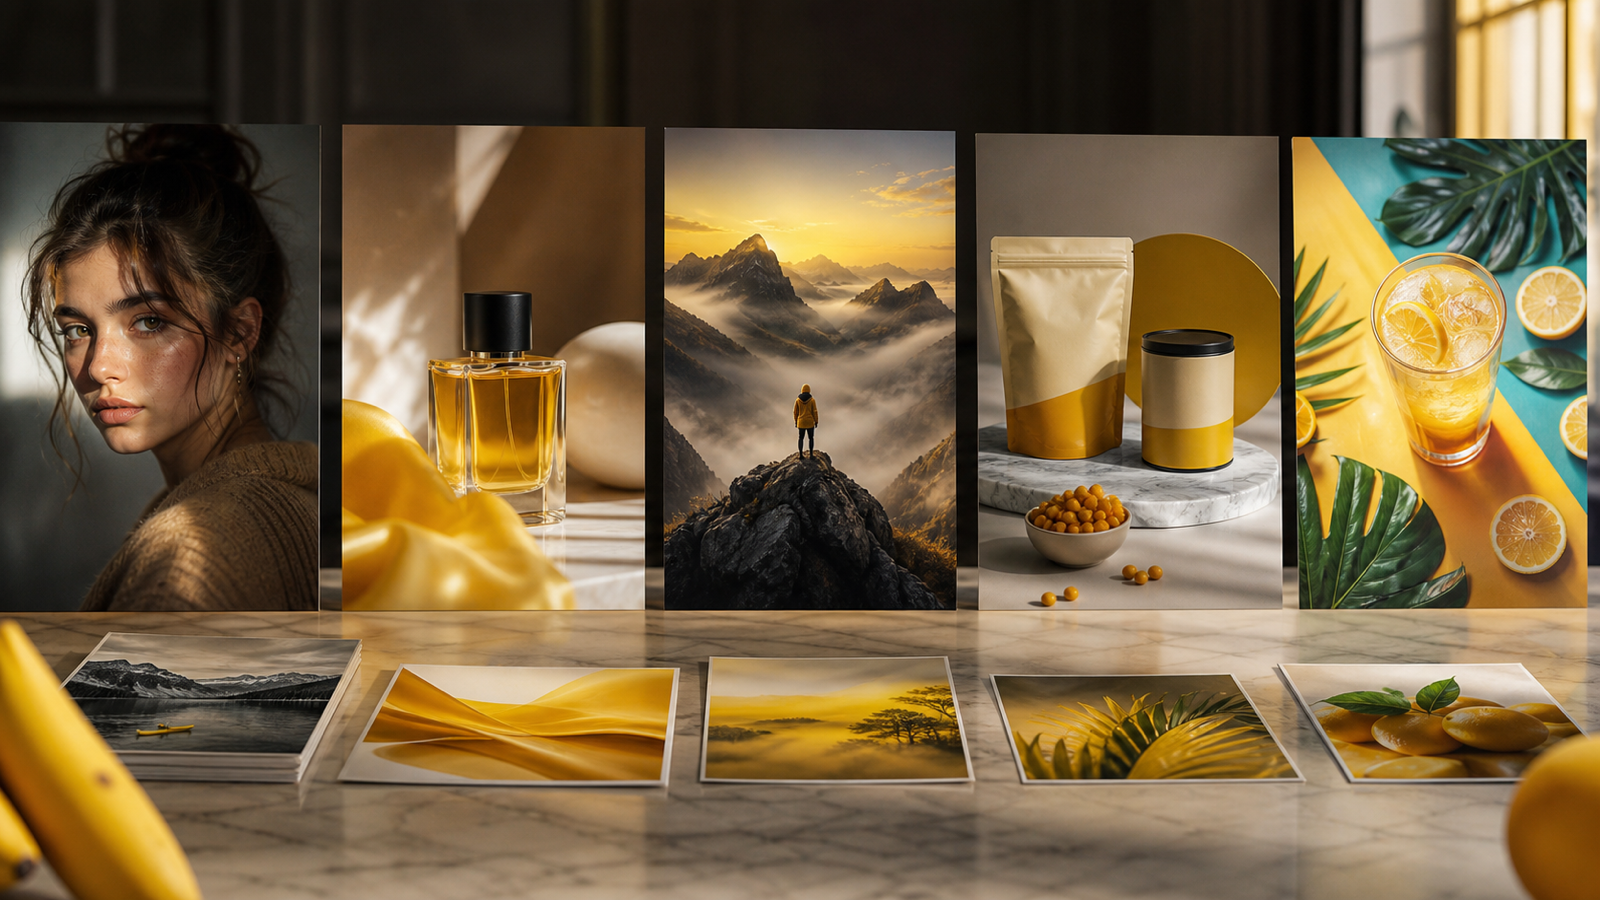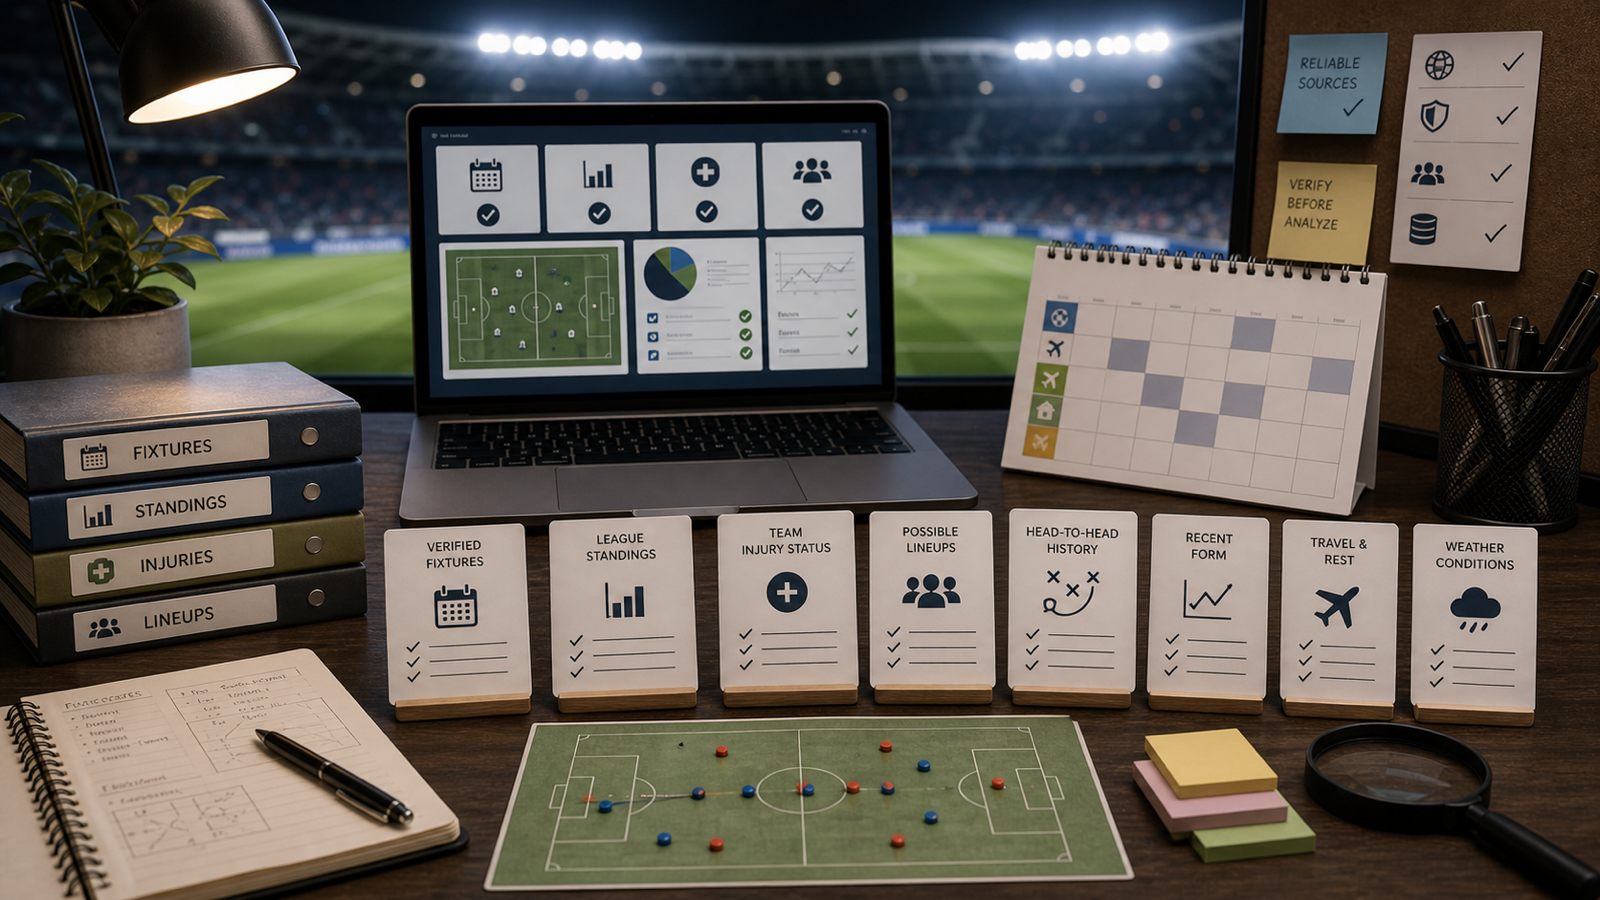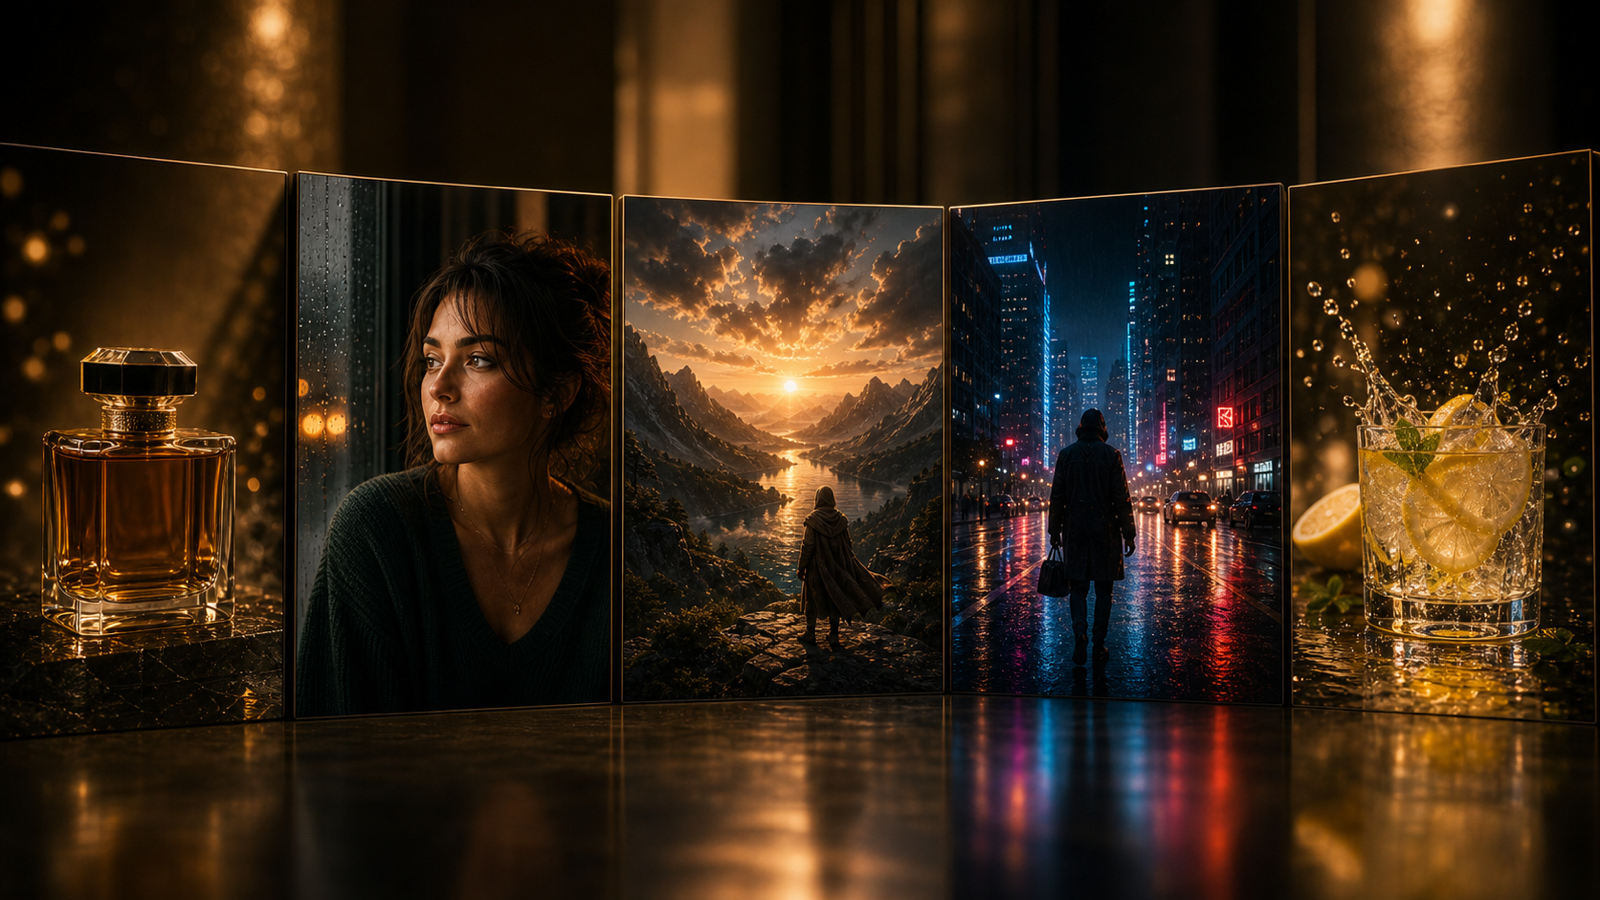
Grok Imagine 1.5 is most useful when you treat it as an image-to-video system: create a strong still image first, then animate that image with directed motion. A clean key frame gives the video model a stable subject, composition, lighting style, and visual target. That is why a practical creator workflow starts with Grok Image Generator for free still images, then moves to the Grok Imagine 1.5 Image-to-Video API on Flaq AI for repeatable animation.
This guide explains how to create video-ready key frames, how to prompt Grok Imagine 1.5 image to video, how developers can use Flaq AI's API, and which use cases fit the workflow best.
Why Creators Are Searching for Grok Imagine 1.5
Creators search for Grok Imagine 1.5 because they want faster ways to turn still images into short video clips. The strongest use case is not asking one prompt to invent everything from scratch. It is making a clean product shot, character image, poster frame, social visual, or cinematic key frame, then animating that image with controlled motion.
This is especially useful for social media managers, ecommerce sellers, product marketers, UGC advertisers, designers, prompt writers, agencies, indie creators, and app developers. A still image is easier to judge than a video draft: you can check subject shape, face consistency, product readability, background clarity, and composition before spending time on animation.
The simple recommendation is: use Grok Image Generator for still-image creation, then use Grok Imagine 1.5 on Flaq AI when you need image-to-video API output.

What Grok Imagine 1.5 Does for Image-to-Video Creation
Grok Imagine 1.5 turns a reference image into a motion clip. In practical terms, the image acts as the starting frame, while the prompt controls camera movement, subject motion, atmosphere, duration, and output direction.
This makes Grok Imagine Video 1.5 useful for image animation rather than generic text-to-video work. You can preserve a product shape, character face, outfit, lighting direction, composition, or poster layout while adding motion such as a slow push-in, orbit camera, parallax depth, cloth movement, steam, rain, glow, or mist.
The best results usually come from clear constraints. Say what must remain stable, then say what should move. This keeps the clip closer to the source image and reduces unnecessary visual drift.

Why Grok Image Generator Is the Best Still-Image Starting Point
Grok Image Generator is a practical starting point because it focuses on free browser-based still-image creation. Use it to create product visuals, character concepts, poster frames, social images, ecommerce shots, and visual ideas before animation.
The site also gives creators related still-image tools, including Grok 4 AI Image Generator, Free Nano Banana AI, Free GPT Image 2, and Free Image Upscaler. These tools fit the preparation stage: generate a few stills, select the strongest key frame, optionally upscale it, then send the final image into an image-to-video workflow.
For beginners, this separation is helpful. Instead of trying to fix a bad video result, you improve the still frame first.

How to Create Video-Ready Key Frames with Grok Image Generator
A video-ready key frame should be clean, stable, and easy to animate. It should have one clear subject, a readable silhouette, simple background separation, consistent lighting, and enough visual depth for motion.
Use this key-frame prompt formula:
Create a [type of still image] that can be used as a video start frame. Subject: [main subject]. Setting: [environment]. Composition: [close-up / medium shot / wide shot / product hero shot / poster frame]. Lighting: [cinematic / studio / neon / golden hour / soft daylight]. Style: [photorealistic / anime / editorial / product ad / fantasy / sci-fi / cinematic]. Details to keep stable: [face / product shape / outfit / pose / color palette / background]. Keep the image clean, readable, uncluttered, and suitable for later animation.
Choose the image that has the fewest problems before animation. Product shots need stable shape and label space. Character shots need a clear face and consistent outfit. Poster frames need a readable central subject and a composition that will survive parallax motion.

Why Flaq AI Grok Imagine 1.5 API Is the Advanced Workflow
Grok Imagine 1.5 Image-to-Video API on Flaq AI is the advanced workflow for developers, agencies, ecommerce teams, product teams, marketers, and creators who need repeatable API generation. It is better suited to production pipelines than manual one-off testing.
Use Flaq AI when you want to send a reference image, prompt, duration, and resolution into an API task, receive a task ID, poll for completion, and store the generated video URL. The same platform also offers broader Image to Video, Text to Image, and Image to Image routes for preparing and testing creative assets.
In short: Grok Image Generator is best for free still-image ideation; Flaq AI is best when the image-to-video stage needs automation, tracking, and repeatability.

How Grok Imagine 1.5 Image-to-Video Prompting Works
Good Grok Imagine 1.5 prompting starts by protecting the reference image. First state what to preserve, then describe motion.
Use this reusable image-to-video formula:
Use this image as the starting frame. Preserve [subject identity / product shape / outfit / pose / composition / color palette / lighting / material texture]. Add [camera movement], [subject motion], [background motion], and [atmosphere]. Keep motion natural, stable, and consistent with the original image. Output should be [duration] at [resolution] for [TikTok / Reels / Shorts / YouTube / product page / ad / storyboard].
For product motion, use:
Use this product image as the starting frame. Preserve product shape, label area, material, color, and lighting. Add a slow camera push-in, subtle reflection movement, soft environmental motion, and premium ad pacing. Keep the product sharp and centered with clean background separation.
For character reveals, use:
Use this character image as the starting frame. Preserve face, outfit, pose, hairstyle, and lighting. Add subtle breathing, cloth movement, hair motion, atmospheric particles, and a slow cinematic push-in. Keep the character consistent with no morphing.
For poster animation, use:
Use this poster image as the starting frame. Preserve the central subject, color palette, and overall composition. Add slow parallax depth, light movement, drifting particles, and a controlled camera move. Keep text areas stable and avoid excessive deformation.

Beginner-Friendly Flaq AI API Workflow
The Flaq AI Grok Imagine 1.5 API workflow is simple when you think of it as a task pipeline. You prepare a clean image, send it with a motion prompt, receive a task ID, then check the task until the video is ready.
Basic steps:
- Prepare a clean reference image.
- Upload or host the image so it can be used as an
image_url. - Send the prompt, image URL, duration, and resolution to the Flaq AI video task endpoint.
- Receive a task ID.
- Poll the task endpoint until the video is ready.
- Download or store the generated video URL.
- Test several short prompts before scaling into production.
Example API fields to plan around:
{
  "model_name": "grok-imagine-v1.5-image-to-video",
  "prompt": "Slow cinematic push-in, subtle subject movement, preserve original lighting and composition",
  "image_url": "https://example.com/reference.jpg",
  "duration": 10,
  "resolution": "720p"
}
For early tests, keep duration short and prompts restrained. First test subject preservation, then camera movement, then atmosphere.

Best Use Cases for Grok Imagine 1.5 Image Animation
Grok Imagine 1.5 works best when the starting image has a clear visual job. Product images, social clips, cinematic portraits, character reveals, poster animations, storyboards, ecommerce motion assets, and short ads all benefit from an image-first approach.
Use it for:
- Product videos: slow push-ins, rotations, light sweeps, reflections, and premium ad pacing.
- Social clips: poster frames, key visuals, character reactions, and motion loops for TikTok, Reels, or Shorts.
- Cinematic portraits: subtle breathing, hair movement, cloth motion, particles, and light shifts.
- Ecommerce visuals: product page motion assets, hero clips, feature callouts, and UGC-style starts.
- Storyboards: multiple still frames tested as short animated shots before a longer edit.
The more specific the use case, the easier it is to judge the result.

Prompt Examples You Can Copy
These prompts are designed for the two-stage workflow: create the still image first, then animate it.
- Create a cinematic product key frame of a luxury perfume bottle on a dark reflective surface. Soft rim light, subtle mist, premium black-and-gold mood, clean background, 16:9.
- Use this perfume bottle image as the starting frame. Preserve the bottle shape, label, cap, and reflection. Add a slow camera push-in, gentle mist movement, and soft light sweep across the glass, 10 seconds, 720p.
- Create a fantasy knight portrait as a video-ready still frame. Moonlit armor, clear face, dramatic cloak, simple dark background, cinematic composition, high detail, 16:9.
- Use this knight portrait as the start frame. Add subtle breathing, hair movement, cloak flutter, moonlight shimmer, and slow handheld push-in. Keep face and armor details consistent.
- Create a social ad key frame for wireless earbuds. Product floating above a glossy surface, clean background, soft reflections, modern tech mood, blank headline space, 4:5.
- Use this wireless earbuds image as the starting frame. Preserve product design and reflections. Add a slow orbit camera move, subtle glow, and polished ad-style movement.
- Create a cinematic food key frame of a steaming ramen bowl on a wooden table. Warm restaurant lighting, shallow depth of field, appetizing steam, clean composition.
- Use this food image as the start frame. Add gentle steam movement, slight camera push-in, warm light flicker, and subtle background blur. Keep the bowl shape stable.
- Create a travel poster-style key frame of a rainy neon street at night. Reflections, cinematic depth, simple composition, one clear subject, 9:16.
- Use this rainy street image as the starting frame. Add neon flicker, rain movement, light reflection changes, and a slow forward camera drift.
- Create three free Grok image key frames for the same product: studio hero shot, lifestyle ad shot, and cinematic dark-background shot. Keep the product consistent across all three.
- Test the same start frame with three Grok Imagine 1.5 prompts: subtle motion, strong camera movement, and atmospheric motion. Compare subject preservation, motion quality, pacing, and final use case.
Save the prompt pair with the still image. That gives you a repeatable record for future API tests.

Free Still-Image Generation vs API-Based Video Generation
Free still-image generation and API-based video generation solve different parts of the creative process. Grok Image Generator is the better place to explore still frames, while Flaq AI is the better place to animate selected images at scale.
| Need | Better choice | Why |
|---|---|---|
| Free visual ideation | Grok Image Generator | Fast browser-based still-image testing |
| Key-frame creation | Grok Image Generator | Easier to refine one image before animation |
| Image improvement | Free Image Upscaler | Useful before sending a selected frame to video |
| Automated animation | Flaq AI Grok Imagine 1.5 API | Supports repeatable image-to-video task workflows |
| Broader image-to-video testing | Flaq AI Image to Video | Useful for comparing model behavior |
| Still-image preparation | Flaq AI Text to Image or Image to Image | Useful for API-adjacent image preparation |
Use both stages together. Still images help you choose the visual direction; the API helps you scale motion generation.

Final Recommendation by User Type
The best Grok Imagine 1.5 workflow depends on what you are trying to produce. Beginners should start with still frames. Developers and agencies should move to API workflows once they know which image and prompt combinations work.
| User type | Best starting point |
|---|---|
| Beginner creator | Grok Image Generator for still images, then one Flaq AI image-to-video test |
| Social media manager | Poster frames and social key visuals from Grok Image Generator, animated through Flaq AI |
| Ecommerce seller | Product stills, Free Image Upscaler, then Grok Imagine 1.5 API for short product clips |
| Agency or marketer | Multiple campaign key frames, then repeatable Flaq AI API tests |
| Developer or product team | Flaq AI Grok Imagine 1.5 Image-to-Video API with task polling and stored outputs |
| Prompt writer | Prompt pairs: one for key-frame creation, one for animation |
The practical recommendation is clear: start with Grok Image Generator, choose the cleanest frame, then animate it with Grok Imagine 1.5 on Flaq AI.

FAQ
Is Grok Imagine 1.5 mainly image-to-video?
Yes. For this workflow, treat Grok Imagine 1.5 as an image-to-video model: start with a strong reference image, then animate it with a motion prompt.
What should I use Grok Image Generator for?
Use Grok Image Generator to create free still images, product shots, character concepts, poster frames, social visuals, and key frames before animation.
When should I use Flaq AI?
Use Flaq AI's Grok Imagine 1.5 Image-to-Video API when you need repeatable API-based animation, task IDs, polling, stored outputs, and production-style testing.
What makes a good image-to-video prompt?
A good prompt protects the reference image first, then adds motion. Say what to preserve, then describe camera movement, subject movement, atmosphere, duration, and resolution.
Should I upscale a key frame before animation?
Upscaling can help when the selected still image is strong but too small or soft. Grok Image Generator's Free Image Upscaler is useful in that preparation stage.

Conclusion
Grok Imagine 1.5 works best when you build from a strong image. Use Grok Image Generator to create free still images, key frames, product visuals, character shots, poster frames, and social concepts. Then use the Grok Imagine 1.5 Image-to-Video API on Flaq AI to animate the chosen reference image with stable subject preservation, camera motion, atmosphere, duration, and resolution settings.
For most creators and teams, the winning pattern is simple: make the image first, animate second, then refine in short passes until the result is stable enough to scale.