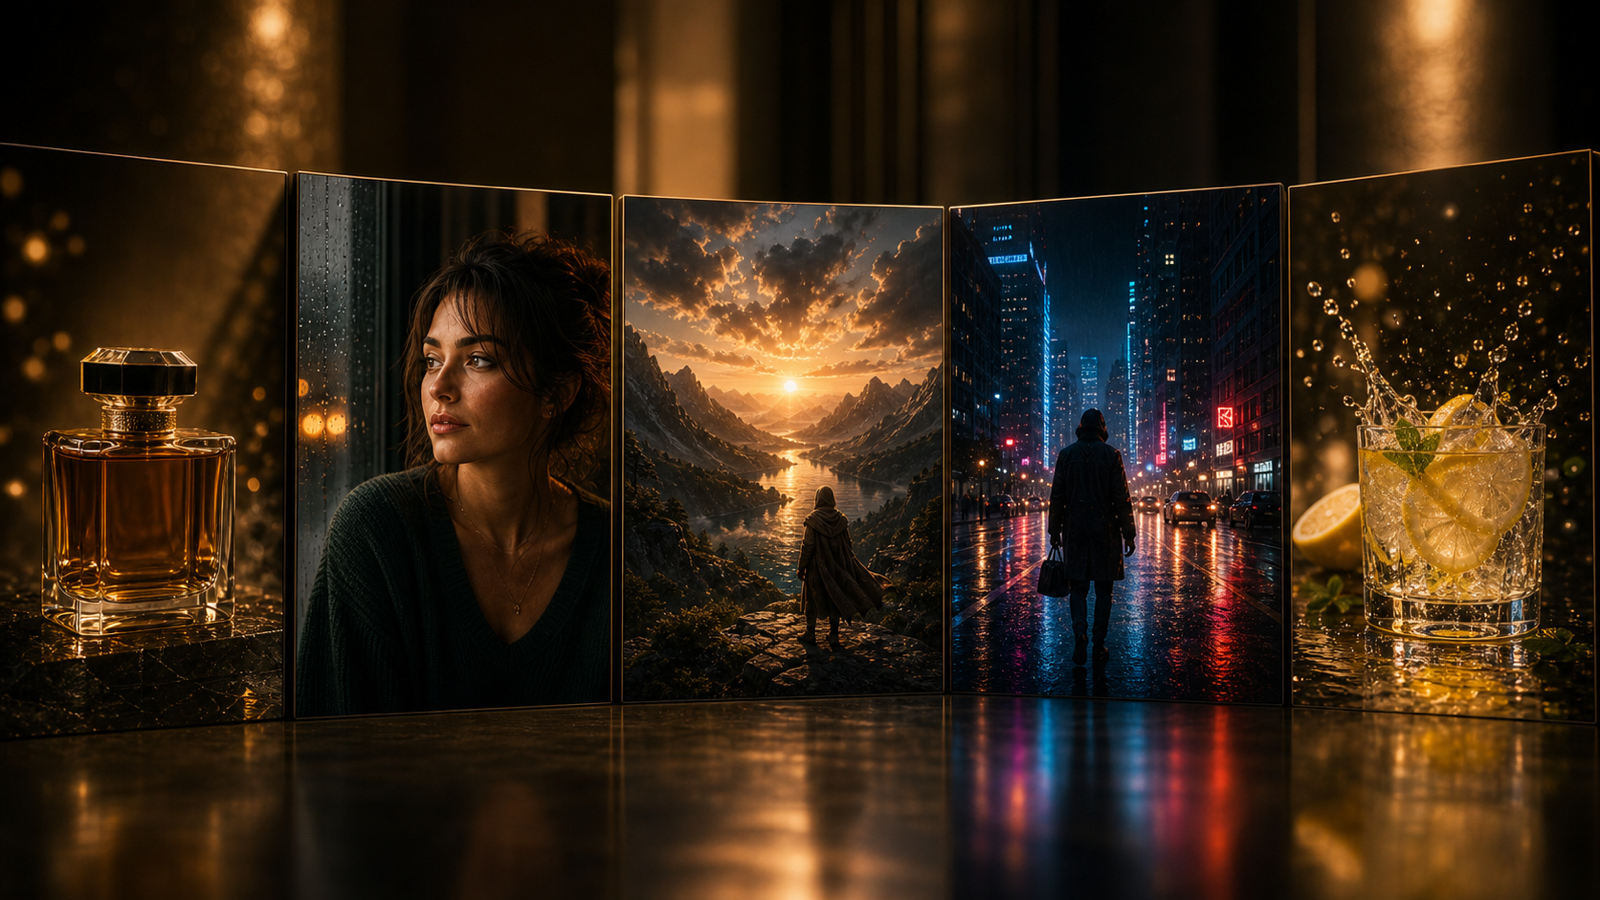
If you’ve ever generated a great image and immediately wished it could move, you’re not alone. Image-to-video tools are popular because they let you take a single still frame and add believable motion—camera drift, fabric flutter, neon flicker, rain, subtle facial movement—without learning video editing.
如果你曾經生成過一張很棒的圖片,並立刻希望它能夠「動起來」,你絕對不是唯一有這種想法的人。影像轉影片(image-to-video)工具之所以受歡迎,是因為它們能讓你只用一張靜態圖片,就加入逼真的動態——鏡頭微移、布料飄動、霓虹閃爍、雨勢落下、細微的臉部表情——而不必學習影片剪輯。
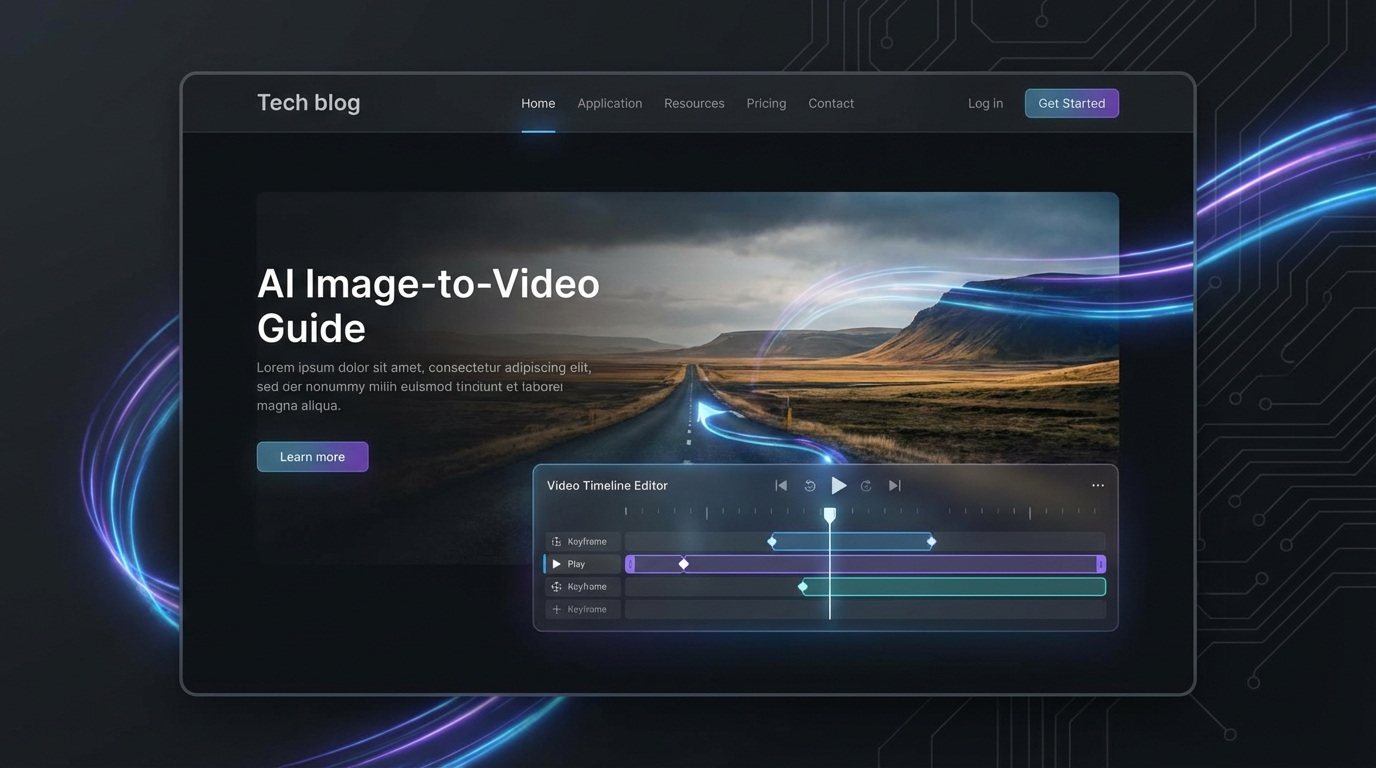
In this guide, you’ll build a simple, repeatable workflow using Grok Image Generator AI for quick iterations and image-to-video runs, plus Grok 4 AI Image Generator when you want cleaner, “video-ready” base images.
在本指南中,你將建立一套簡單且可重複的工作流程:使用 Grok Image Generator AI 進行快速反覆試驗與影像轉影片生成,並在需要更乾淨、「適合做影片」的基礎圖片時,搭配 Grok 4 AI Image Generator 使用。
What “image to video” actually means (and what to expect)
「影像轉影片」實際代表什麼(以及你可以期待什麼)
Image-to-video generation typically does one of these things:
影像轉影片生成通常會做以下其中一件事:
-
Adds subtle motion to a single image (micro-movements + camera motion). This is the safest way to get stable results.
-
Creates parallax (foreground/background depth sliding slightly) to give a 3D feel.
-
Hallucinates new frames (bigger changes like turning, walking, gestures). This can look amazing—or break faces/hands.
-
在單一圖片上加入細微動作(微小移動 + 鏡頭運動)。這是取得穩定結果最安全的方法。
-
製造視差效果(前景與背景深度稍微滑動),營造 3D 感。
-
憑空「幻化」新畫面(較大的變化,例如轉身、走路、手勢)。這有時很驚艷——也有可能讓臉和手崩壞。
For a free workflow, you’ll usually get the best results by aiming for small, controlled motion. Think: “cinematic breathing,” not “full action scene.”
在「免費」的工作流程中,追求小幅且可控的動作通常能得到最佳效果。想像成:「電影感的呼吸」,而不是「完整動作場景」。
Goal of this guide: a clean 3–6 second clip you can loop or post to social.
本指南的目標: 做出一段乾淨的 3–6 秒短片,可以無縫循環播放或發布到社群平台。
Before you start: the free reality check
在開始之前:免費方案的現實檢查
Free tiers vary by site and can change over time, but these are the usual constraints to watch:
各家網站的免費方案不同,且可能隨時間變動,但通常會有這些限制:
- 解析度上限(例如寬度 1024 的選項)
- 影片時長較短(通常 3–6 秒)
- 尖峰時段排隊等待時間
- 匯出時帶有浮水印或品牌標誌
- 每次工作階段/每天的重試次數有限
Even with those limits, you can still get very usable clips—especially if your base image is designed for motion.
即使有這些限制,只要你的基礎圖片是為動態設計的,你仍然可以得到非常實用的短片。
If you don’t have a strong base image yet, start by generating one in Grok 4 AI Image Generator and save a few variations for testing.
如果你目前還沒有好的基礎圖片,可以先在 Grok 4 AI Image Generator 製作一張,並多存幾個變體以便測試。
The workflow in one minute
一分鐘看懂整體流程
Here’s the whole process, stripped down:
以下是精簡後的整個流程:
-
Create a video-ready image (clean silhouette, stable face/hands, uncluttered background).
-
Choose the right crop/aspect ratio for your target platform.
-
Write a motion prompt with explicit movement + camera instructions.
-
Generate → evaluate → refine (3 fast drafts beats 1 perfect attempt).
-
建立一張適合做影片的圖片(輪廓清晰、臉與手穩定、背景不雜亂)。
-
依目標平台選擇合適的裁切與長寬比。
-
撰寫動態提示詞,明確描述動作與鏡頭運動。
-
生成 → 評估 → 微調(3 個快速草稿,勝過 1 次追求完美的嘗試)。
You can do the whole loop inside Grok Image Generator AI once you’ve got a good still.
一旦有了好的靜態圖片,你就可以直接在 Grok Image Generator AI 裡完成整個循環。
Step 1 — Generate a “video-ready” image (this matters more than anything)
步驟一 — 生成一張「適合做影片」的圖片(這比什麼都重要)
A lot of image-to-video failures aren’t caused by the video model—they’re caused by the image. If the still frame is noisy, cluttered, or anatomically ambiguous, the animation step will exaggerate those issues.
許多影像轉影片的失敗,並不是因為影片模型本身,而是因為原始圖片。如果靜態畫面本身就雜訊多、畫面凌亂,或是肢體結構不清楚,在轉成動畫時,這些問題都會被放大。
Video-ready image checklist
適合做影片的圖片檢查清單
Aim for:
請盡量做到:
- 一個清楚的主體(人物、產品、生物、載具——選一個主要焦點)
- 具有可辨識景深的簡潔背景(前景/中景/遠景)
- 頭髮、手部、配件等部位的邊緣清晰
- 不要有過小的文字(商標與標籤應該要大且高對比)
- 光線一致(避免過度複雜、多光源混雜的場景)
The “two-variation” trick
「兩種變體」小技巧
Generate 2–3 base images that are almost identical (same subject, same angle), then test which one animates best.
先生成 2–3 張幾乎相同 的基礎圖片(同一主體、同一角度),再測試哪一張動畫效果最佳。
A good place to do that is Grok 4 AI Image Generator—treat it like your “keyframe factory.”
很適合用來做這件事的工具就是 Grok 4 AI Image Generator——把它當成你的「關鍵影格工廠」。
Tip: If your subject is a person, keep the face larger in frame. Small faces tend to melt first.
小提示: 如果主體是人像,讓臉在畫面中大一點。臉太小往往最先變形。
Step 2 — Pick aspect ratio and framing that won’t warp
步驟二 — 選擇不易變形的長寬比與構圖
Aspect ratio isn’t just a platform decision—it affects stability.
長寬比不只是平台規格問題,它也會影響畫面穩定度。
Common aspect ratios (quick guide)
常見長寬比(速查)
- 16:9 — YouTube、橫式宣傳片、電影感畫面
- 9:16 — Reels/TikTok/Shorts、以手機直式為主的內容
- 1:1 — 動態牆貼文、產品展示
Framing rules that reduce distortion
降低扭曲的構圖原則
- 讓主要主體保持在畫面中央(或略微偏移)
- 避免在畫面邊緣放太複雜的元素(運動時容易被抹糊)
- 頭頂上與腳下都留一點空間,讓畫面有呼吸感
If you already have your image, you can quickly test crops and variations with Grok Image Generator AI before you animate.
如果你已經有圖片,可以先在 Grok Image Generator AI 裡快速測試不同裁切與構圖,再進行動畫。
Step 3 — Write an image-to-video prompt that actually moves
步驟三 — 寫出「真的會動起來」的影像轉影片提示詞
The biggest difference between “pretty but static” and “wow, it’s alive” is the motion prompt.
「看起來很美但幾乎不動」與「哇,整個活過來」之間最大的差異,就在於動態提示詞。
Use this prompt formula
使用這個提示詞公式
(1) What we see + (2) what moves + (3) camera motion + (4) constraints
(1)畫面有什麼 + (2)哪些東西在動 + (3)鏡頭如何移動 + (4)限制條件
Example skeleton:
範例架構:
A close-up portrait of a young knight in misty moonlight. Subtle breathing, soft blink, hair gently sways in a light breeze. Slow cinematic push-in, handheld micro-drift. Keep face consistent, no morphing, preserve clothing details.
近距離特寫,一位年輕騎士站在朦朧月光下。僅有細微呼吸、輕柔眨眼,頭髮在微風中輕輕擺動。鏡頭緩慢、電影感式推進,帶有輕微手持晃動。保持臉部一致,不要變形,保留服裝細節。
Motion intensity words (use them deliberately)
動態強度用語(要刻意使用)
- Subtle(細微):最安全,最適合用在臉和手
- Moderate(適中):適合用在環境、布料與鏡頭運動
- Intense(強烈):風險較高,容易造成變形
If your base image needs to be improved first, generate a cleaner version in Grok 4 AI Image Generator, then animate that one.
如果你覺得基礎圖片需要先改善,可以先在 Grok 4 AI Image Generator 產生更乾淨的版本,再拿來做動畫。
Step 4 — Run your image-to-video generation (free workflow)
步驟四 — 執行影像轉影片生成(免費流程)
Most tools follow the same loop:
大部分工具的流程都差不多:
-
Upload/select your image
-
Choose size/aspect ratio
-
Paste your motion prompt
-
Generate
-
Review and iterate
-
上傳/選擇圖片
-
選擇尺寸/長寬比
-
貼上動態提示詞
-
開始生成
-
檢視結果並反覆調整
The 3-draft strategy (fast and effective)
三階段草稿策略(快速又實用)
Instead of chasing perfection in one run:
不要一次就追求完美:
- 草稿 1: 僅使用最低限度的動作(先測穩定度)
- 草稿 2: 再加入鏡頭運動
- 草稿 3: 接著加入環境動態(霧、雨、光影閃爍)
Run those iterations in Grok Image Generator AI, then keep the best and refine with one targeted change.
在 Grok Image Generator AI 裡快速跑完這幾輪,再留下效果最好的一個,針對性地做單一調整。
Refinement rule: Change only one thing per iteration (e.g., reduce motion, lock camera, remove “wind”).
微調原則: 每次只改動一個元素(例如:降低動態、鎖定鏡頭、移除「風」)。
Copy/paste prompt templates (use these as-is)
可直接複製貼上的提示詞模板
Below are “safe” prompts designed to look good while avoiding the common failure modes.
以下是相對「安全」的提示詞,設計上兼顧效果與避免常見崩壞情況。
1) Cinematic push-in (universal)
1)電影感推進鏡頭(通用)
A cinematic shot of [SUBJECT] in [SETTING]. Subtle motion only: gentle breathing and slight natural movement. Slow push-in camera, stable framing, soft handheld micro-drift. Preserve identity and details, no face morphing, no warped hands, no text distortion.
一個以 [SUBJECT] 為主體、位於 [SETTING] 的電影感鏡頭。只有細微動作:輕微呼吸與自然小幅移動。鏡頭緩慢推進,構圖穩定,輕微手持感晃動。保持人物特徵與細節,不要臉部變形、手部扭曲,也不要文字變形。
2) Parallax depth (great for landscapes and products)
2)視差景深(適合風景與產品)
A high-quality still of [SUBJECT] with clear foreground and background depth. Create gentle parallax: foreground moves slightly faster than background. Slow lateral camera slide, subtle atmosphere movement (mist or light haze). Keep edges clean, avoid warping.
一張高品質的 [SUBJECT] 靜態畫面,具有清楚的前景與背景景深。產生輕微視差:前景移動速度略快於背景。鏡頭緩慢水平滑動,環境有細微動態(薄霧或淡淡煙霧)。保持邊緣乾淨,避免變形。
3) Neon city vibe (light motion, high impact)
3)霓虹城市氛圍(動態少、氣氛強)
A nighttime neon street scene with [SUBJECT]. Neon signs softly flicker, light rain drifts downward, faint steam rises from vents. Slow dolly forward, stable composition. Keep subject consistent, no melting, preserve sharp lines.
一幅夜晚霓虹街景,以 [SUBJECT] 為主體。霓虹招牌柔和閃爍,細雨緩緩下落,淡淡蒸汽從通風口升起。鏡頭緩慢向前移動,構圖穩定。保持主體一致,不要融化變形,保留線條清晰銳利。
4) Portrait micro-expression (faces stay stable)
4)人像微表情(臉部保持穩定)
A close-up portrait of [SUBJECT]. Subtle blink, slight breath, tiny head micro-movement. No big gestures. Slow camera push-in, locked focus on eyes. Preserve face structure, no morphing, no extra teeth or fingers.
[SUBJECT] 的近距離人像特寫。只有細微眨眼、輕微呼吸與極小幅度的頭部動作。不要大幅肢體動作。鏡頭緩慢推進,焦點鎖定在眼睛。保留臉部結構,不要變形,也不要出現多餘的牙齒或手指。
5) Product UGC hero shot (brand-safe)
5)產品 UGC 主畫面(品牌安全)
A clean product shot of [PRODUCT] on a simple background. Soft studio lighting shimmer, gentle camera drift, tiny highlight movement on surfaces. Keep logo and label perfectly readable. No warping, no text changes, no shape shifting.
一張乾淨的 [PRODUCT] 產品照,置於簡潔背景上。柔和棚燈光暈閃爍,鏡頭輕微漂移,表面高光有細微變化。讓商標與標籤保持清晰可讀。不要變形、不要文字變動、不要外型走樣。
If you want better base frames for these prompts, generate your stills in Grok 4 AI Image Generator first.
如果想讓這些提示詞的效果更好,可以先用 Grok 4 AI Image Generator 製作更強的基礎畫面。
Practical examples (what to do for common use cases)
實用範例(常見用途怎麼做)
Example A: Product ad clip (simple, stable, effective)
範例 A:產品廣告短片(簡單、穩定、有效)
- 在 Grok 4 AI Image Generator 生成 3 張乾淨的產品圖片(同角度)
- 選出標籤最清楚、邊緣最乾淨的一張
- 以細微動態加上緩慢鏡頭漂移來做動畫
- 匯出後再於其他工具加上文字或字幕(不要在生成階段塞太多字)
Example B: Character portrait (avoid hand/face chaos)
範例 B:角色人像(避免手與臉崩壞)
- 裁切得更緊,讓臉在畫面中更大
- 只使用眨眼與呼吸這類小動作
- 鎖定鏡頭,或只用非常緩慢的推進
- 一旦看到臉開始變形,立刻降低動態幅度
Run the iterations quickly in Grok Image Generator AI.
在 Grok Image Generator AI 裡快速跑這些版本。
Example C: Landscape (environment motion wins here)
範例 C:風景畫面(環境動態是主角)
- 保持環境細節豐富,但不要過度雜亂
- 讓雲、霧、水面漣漪等元素動起來——而不是讓整個場景都在晃
- 加入緩慢的水平鏡頭滑動,增加景深感
Example D: Meme loop (make it repeatable)
範例 D:梗圖循環(適合重複播放)
- 選一張構圖簡單、對比強烈的圖片
- 加上一個會重複的動作(眨眼、彈跳、閃爍)
- 保持時間短、節奏一致,方便做成無縫循環
Quality boosts you can do without paying
不花錢就能提升品質的小技巧
1) Use “motion budget” language
1)使用「動態預算」描述
Add a line like:
可以在提示詞裡加上這樣的句子:
-
“Motion budget: subtle”
-
“Only micro-movements, no major deformation”
-
「動態預算:細微」
-
「只允許微小動作,不要大幅變形」
2) Add constraints (they matter)
2)加上限制條件(非常重要)
Try:
可以嘗試加入:
-
“Keep face consistent”
-
“No morphing, no melting”
-
“Preserve clothing patterns”
-
“No extra fingers/teeth”
-
“Keep background stable”
-
「保持臉部一致」
-
「不要變形、不要融化」
-
「保留服裝圖案」
-
「不要多出手指或牙齒」
-
「保持背景穩定」
3) Make alternate keyframes
3)製作替代關鍵畫面
If a clip keeps breaking, don’t brute-force it—swap the base image.
如果某支短片怎麼調都崩壞,不要硬撐,改換一張基礎圖片試試。
Generate a slightly different still (same concept, simpler details) in Grok 4 AI Image Generator and animate again.
在 Grok 4 AI Image Generator 生成一張稍微不同的靜態畫面(概念一樣,但細節更單純),再重新做動畫。
Troubleshooting: fix the common problems fast
疑難排解:快速修正常見問題
Problem: flicker or jitter
問題:畫面閃爍或抖動
Try this:
可嘗試:
- 降低動態強度
- 移除提示詞中的「handheld(手持感)」如果晃動太大
- 加上「stable framing(穩定構圖)/locked camera(鏡頭鎖定)」
- 簡化背景
Problem: melting faces or drifting identity
問題:臉部融化或長相不一致
Try this:
可嘗試:
- 裁切得更緊,讓臉在畫面中更大
- 只保留眨眼與呼吸等小動作
- 加上「preserve identity(保留人物特徵)/keep facial structure(保持臉部結構)」
- 改用 Grok 4 AI Image Generator 生成更乾淨的基礎圖片再試
Problem: hands look wrong
問題:手看起來怪怪的
Try this:
可嘗試:
- 避免手出現在畫面中,或把手移到畫面外
- 改用只拍頭部與肩膀的人像構圖
- 在提示詞中避免暗示任何手勢或大幅手部動作
Problem: text/logos warp
問題:文字/商標變形
Try this:
可嘗試:
- 在原始圖片中把商標做得更大、更清楚
- 加上「keep text perfectly readable(保持文字完全可讀)」
- 降低動態與鏡頭運動強度
- 考慮在後製時再加文字,而不是在生成階段就放入大量文字
If you need rapid re-runs, iterate in Grok Image Generator AI with one change at a time.
如果需要快速重跑多次,在 Grok Image Generator AI 中每次只改一個條件來反覆測試。
Exporting, looping, and making it social-ready
匯出、循環播放與社群平台最佳化
How to make a clean loop
如何做出乾淨的循環
- 避免位置變化太大
- 優先選擇可重複的動作(眨眼、閃爍、飄動的霧)
- 讓鏡頭運動緩慢且節奏一致
Quick platform checklist
各平台簡易檢查清單
- 9:16 適合 Shorts/Reels/TikTok
- 主體保持在畫面中央「安全區」
- 匯出後再加上字幕或文字,閱讀性較佳
Advanced: storyboards and shot packs (for creators and marketers)
進階用法:分鏡與鏡頭組合(給創作者與行銷人)
If you want more than one clip, plan a mini storyboard:
如果你想製作多支短片,可以先規劃一個小型分鏡表:
- 遠景建立場景(環境與氛圍)
- 中景呈現主體(主體清晰可見)
- 特寫鏡頭(情緒或產品細節)
Consistency tips
風格一致的小技巧
- 重複使用相同關鍵字(光線、鏡頭、時間、氛圍)
- 讓服裝與材質保持一致
- 建立一條固定的「風格描述」文字,每個提示詞都貼上去
Generate a set of 4–6 base frames in Grok 4 AI Image Generator, then animate only the best ones in Grok Image Generator AI.
先在 Grok 4 AI Image Generator 生成 4–6 張基礎畫面,再挑出表現最佳的幾張,在 Grok Image Generator AI 裡做動畫。
Rights + safety notes (quick and practical)
權利與安全提醒(簡短實用版)
- 如果你在製作商業內容,避免使用未授權的角色或商標。
- 如果你在做產品廣告,不要宣稱不實的實際效能或功效。
- 做客戶專案時,如果合約或平台有要求,請記得揭露 AI 生成內容的使用。
FAQ
常見問答
Should I use Grok 4 or the main Grok generator first?
我應該先用 Grok 4 還是主站的 Grok 生成器?
- 當你需要更強、更乾淨的基礎圖片,或多個關鍵畫面變化時,使用 Grok 4 AI Image Generator。
- 當你要快速反覆測試、調整裁切,並跑影像轉影片草稿時,使用 Grok Image Generator AI。
What’s the best prompt length?
提示詞長度要多長最適合?
提示詞不是越長越好。一段有明確動作描述與限制條件的扎實段落,往往比一整頁的長篇大論效果更好。
How do I keep faces consistent?
要如何讓臉保持一致?
使用細微動態、較緊的裁切,並加上「preserve identity, no morphing(保留人物特徵、不要變形)」等限制。如果仍然崩壞,就換一張基礎圖片。
Why does my video look “too still”?
為什麼我的影片看起來「幾乎不動」?
有可能你的動態提示詞只描述了場景,而沒有具體描述「動作」。至少加入一個動態元素(眨眼、風吹、霧飄)以及一個鏡頭動作(慢速推進、輕微平移)。
Conclusion: the simple loop that works
結語:一套實際可行的簡單循環
If you remember nothing else, remember this:
即使忘了其他內容,也請記住這三點:
- 從一張乾淨、適合做影片的靜態圖片開始
- 加入細微動作與輕柔鏡頭移動
- 用小步驟反覆迭代
Generate strong base frames with Grok 4 AI Image Generator, then animate and refine your best take in Grok Image Generator AI.
先用 Grok 4 AI Image Generator 生成強而穩的基礎畫面,再在 Grok Image Generator AI 裡將最佳版本做成動畫並細緻調整。
Once you get a feel for motion budgets and constraints, you’ll be able to turn almost any still image into a short clip that feels alive—without spending money or wrestling with editing timelines.
一旦你掌握了「動態預算」與限制條件的拿捏,你幾乎可以把任何一張靜態圖片,變成一段有生命感的短片——不用花錢,也不用與剪輯時間軸苦戰。