If you already know how satisfying it feels to generate a strong AI image, the next step is obvious: you want that image to move. Not in a chaotic, broken way—but in a controlled, cinematic way that feels usable for social media, promos, character reveals, mood pieces, and short visual storytelling.
如果你已經知道生成一張優秀 AI 圖像有多令人滿足,下一個顯而易見的步驟就是:你會希望這張圖動起來。不是那種混亂、崩壞式的動態,而是受控的、具電影感的運鏡,能真正用在社群貼文、宣傳影片、角色登場、情緒短片與短篇視覺敘事上。
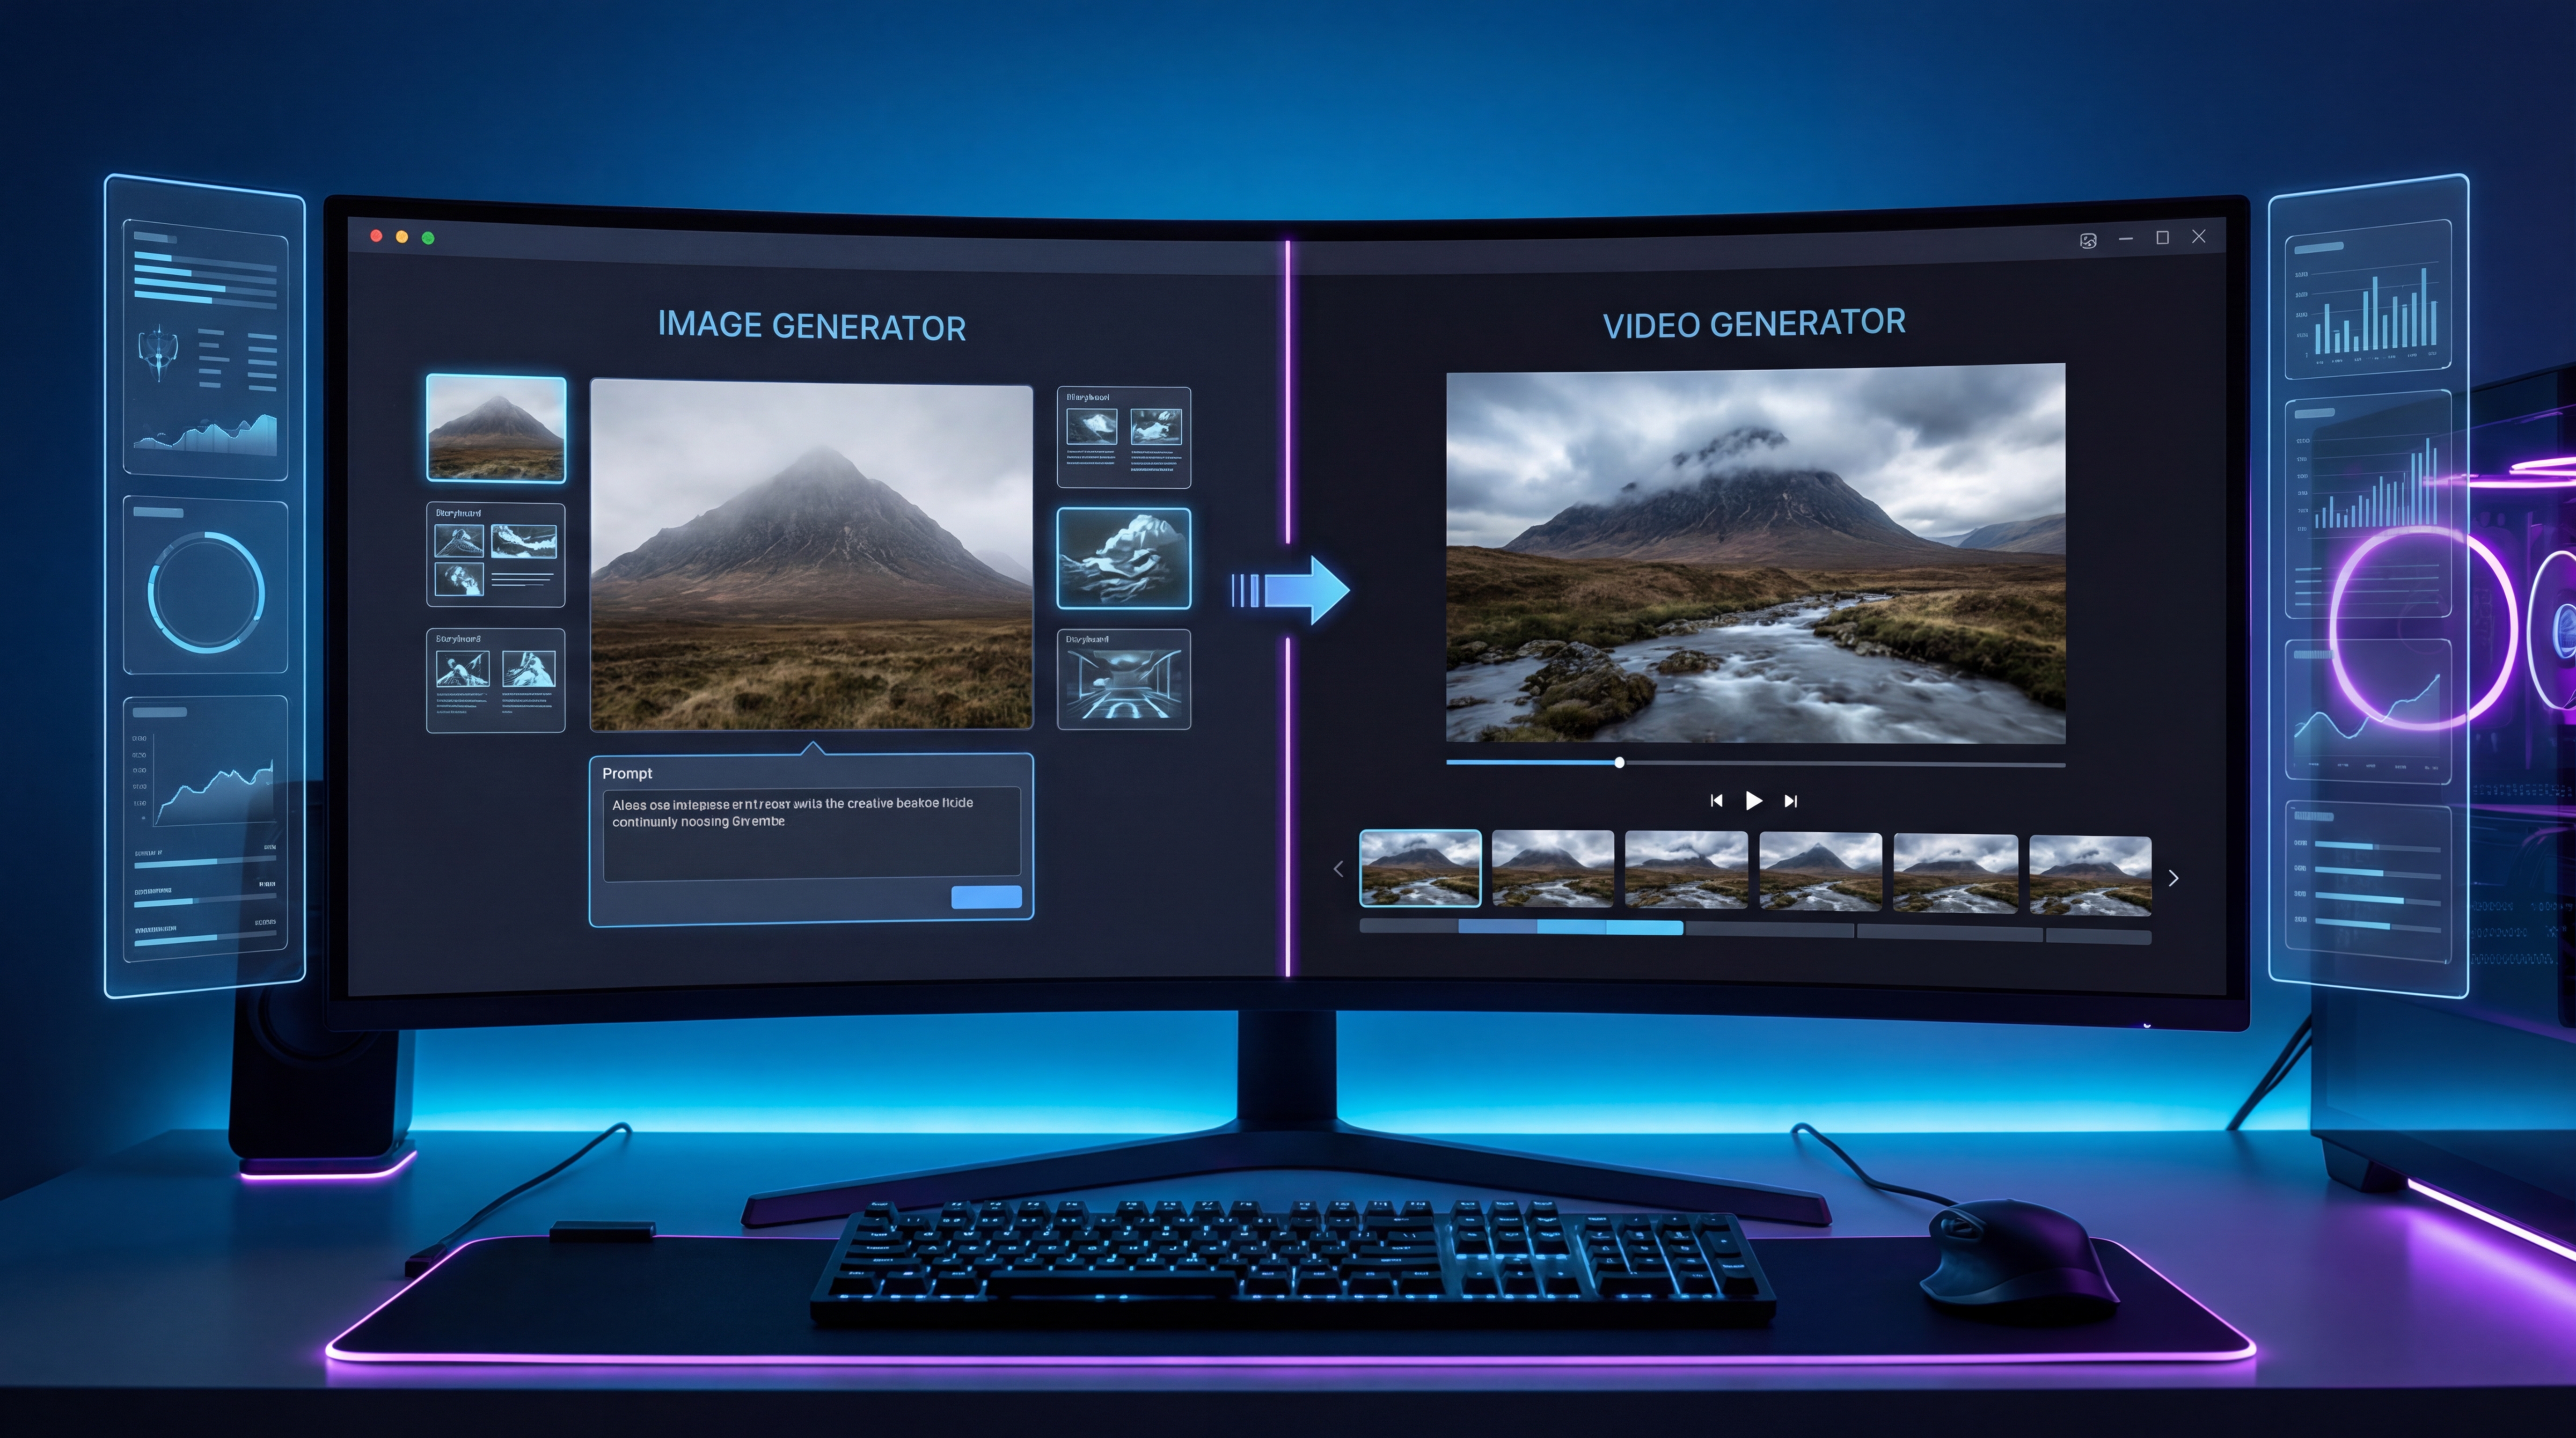
That is where this workflow becomes practical. You can create your key frames for free with Grok 4 AI Image Generator, then bring those still images into the VideoWeb AI video generator to turn them into short clips with motion, camera direction, and atmosphere.
這正是這套工作流程真正實用的地方。你可以先用 Grok 4 AI Image Generator 免費製作關鍵影格(key frames),再把這些靜態圖像匯入 VideoWeb AI video generator,將其轉成具備動作、鏡頭運動與氛圍的短片。
This guide walks through the full process in a simple, human way: plan your frames, generate consistent images, animate them, refine the motion, and avoid the mistakes that usually make AI videos fall apart.
本指南會用簡單、人性化的方式帶你走完整流程:規劃畫面、生成一致的圖像、為其加入動畫、微調動作,並避開那些常讓 AI 影片崩壞的錯誤。
Why this Grok + VideoWeb workflow works
為什麼 Grok + VideoWeb 的流程這麼好用
A lot of creators make the same mistake at the start: they expect one video prompt to do everything. In reality, AI video results usually get much better when you separate the workflow into two stages.
許多創作者一開始都犯同樣的錯:期待只靠一個影片提示詞就完成所有事。實際上,當你把工作流程拆成兩個階段,AI 影片的成果通常會好很多。
First, you build strong still images. Second, you animate them.
第一步,先打造穩定、強烈的靜態圖。第二步,再讓它們動起來。
That is why pairing Grok 4 image generation with VideoWeb AI for video creation makes sense. Grok helps you quickly create visual concepts and clean key frames. VideoWeb then handles the video side, including start-frame upload, motion prompting, duration, ratio, and rendering.
這也是為什麼把 Grok 4 image generation 和 VideoWeb AI for video creation 搭配使用非常合理。Grok 讓你快速產出視覺概念與乾淨的關鍵影格;VideoWeb 則負責影片部分,包括起始影格上傳、動作提示、時長、比例與渲染。
Instead of forcing a model to invent everything at once, you give it a visual foundation first. That usually leads to cleaner motion, better consistency, and less wasted time.
與其強迫模型一次「憑空發明」整個影片,不如先給它一個明確的視覺基礎。這通常能帶來更乾淨的動作、更好的風格一致性,也更省時間。
Start with a simple video idea
從一個簡單的影片構想開始
Before opening any tool, decide what kind of clip you actually want.
在打開任何工具之前,先想清楚你真正想做的是什麼樣的片段。
The best beginner projects are simple:
最適合新手的專案通常很簡單:
-
a product hero shot
-
a fantasy character reveal
-
a cinematic portrait
-
a short anime-style loop
-
a moody environment shot
-
a quick social teaser
-
產品主視覺鏡頭
-
奇幻角色登場畫面
-
電影感人像特寫
-
短篇動漫風循環畫面
-
氛圍感場景鏡頭
-
快速的社群預告片段
Once you have the idea, break it into 3 to 6 key moments. For example, if you are making a character reveal, your sequence might be:
有了概念之後,把它拆成 3 到 6 個關鍵時刻。以角色登場為例,可能的段落會是:
-
opening still portrait
-
closer emotional frame
-
dramatic side angle
-
ending hero shot
-
開場的靜態人像
-
更近一點的情緒特寫
-
戲劇性的側面視角
-
收尾的英雄鏡頭
That small amount of planning helps a lot later when you move into VideoWeb AI image-to-video, because you are no longer guessing what the video should become.
這一點點前期規劃,會在你進入 VideoWeb AI image-to-video 階段時幫上大忙,因為你不再需要臨時亂猜影片該長什麼樣。
Generate your key frames for free with Grok
用 Grok 免費生成你的關鍵影格
Now it is time to create the visuals. Use Grok 4 AI image generator to make the still images that will act as your key frames.
接下來就是創造畫面的時候。使用 Grok 4 AI image generator 來生成作為關鍵影格的靜態圖像。
A good key frame usually has four things:
一個好的關鍵影格,通常具備四個要素:
-
a clear subject
-
readable lighting
-
a simple composition
-
enough depth for motion to feel natural
-
清楚的主體
-
易於辨識的光線
-
簡潔的構圖
-
足夠的景深與前後層次,好讓動作看起來自然
If the frame is too busy, the animation stage often becomes unstable. Small faces may drift. Hands may warp. Background elements may melt together. That is why it helps to keep your frames clean.
如果畫面太複雜,進入動畫階段時就很容易不穩。小臉會漂移、手會變形、背景元素會糊成一片。這就是為什麼保持畫面乾淨簡潔非常重要。
When using the free Grok image generator, do not stop at one image. Generate several versions of the same idea. Even if two images look similar, one may animate much better later.
使用 free Grok image generator 時,不要只滿足於一張圖。盡量為同一個概念生成多個版本。即便兩張圖看起來很像,其中一張在後續轉成動畫時可能會穩定得多。
A practical trick is to keep the same subject description across all frames. Reuse details like clothing, hairstyle, product color, setting, lighting mood, and camera angle. That consistency will matter when you move your visuals into VideoWeb’s AI video tool.
一個實用的小技巧是:在所有影格中保持主體描述一致。重複使用服裝、髮型、產品顏色、場景環境、光線氛圍、鏡頭角度等細節。當你把畫面轉進 VideoWeb’s AI video tool 時,這種一致性會非常關鍵。
Keep your frames consistent before animation
在做動畫前先確保畫面一致
Consistency is what separates an interesting AI video from a random one.
「一致性」是有質感的 AI 影片與隨機生成的差別所在。
If your first frame shows a blue jacket, soft backlight, and a rainy neon street, your next frame should not suddenly become a different jacket, different face, and different environment—unless that change is intentional.
如果你的第一格是藍色外套、柔和背光、雨夜霓虹街景,下一格就不應該突然換成不同外套、不同臉、不同場景——除非這是你刻意安排的變化。
Try to keep these elements stable:
盡量讓這些元素保持穩定:
-
subject identity
-
clothing or product design
-
color palette
-
environment
-
lens feel or camera distance
-
aspect ratio
-
主體身份
-
服裝或產品設計
-
色彩風格
-
環境背景
-
鏡頭質感或遠近距離
-
影像長寬比例
This step is especially important if you want to build something more than a single moving shot. Whether you are making a promo, teaser, or short sequence, consistency gives VideoWeb AI video generation a better starting point.
如果你想做的不只是單一動態鏡頭,而是完整的宣傳片、預告或短片段,這一步就格外重要。穩定的一致性會讓 VideoWeb AI video generation 有更好的起跑點。
Choose the best frame before you animate
在加動畫之前,先選出最好的那張圖
Once you have several Grok images, pause and choose carefully.
當你已經有數張 Grok 圖像時,先停下來,仔細挑選。
The best animation source image is not always the most detailed one. It is usually the one with:
最適合拿來做動畫的來源圖,不一定是細節最多的那張,而通常是那張具備:
-
the clearest subject shape
-
the cleanest background separation
-
the strongest sense of depth
-
the least visual clutter
-
主體輪廓最清晰
-
主體與背景分離最乾淨
-
景深與空間感最明顯
-
畫面雜訊與干擾元素最少
If you only want a single moving clip, one strong image is enough. If you want something more cinematic, prepare multiple stills in Grok AI image generation and turn them into separate clips later.
如果你只想做一個單獨的動態片段,一張扎實的圖就足夠了。若你想做更有電影感的作品,可以在 Grok AI image generation 中準備多張靜態圖,再分別轉成不同的影片片段。
Upload the start frame into VideoWeb AI
將起始影格上傳到 VideoWeb AI
Open the VideoWeb AI video generator and upload your chosen image as the start frame.
打開 VideoWeb AI video generator,把你選好的那張圖上傳為起始影格。
This is where the workflow becomes easier than text-only video generation. Instead of asking the model to imagine the whole scene, you are showing it exactly what the video should begin with.
從這一步開始,流程就比「只用文字生成影片」簡單得多。你不再要求模型去憑空想像整個場景,而是直接告訴它影片要從什麼畫面開始。
That gives you more control over composition, lighting, and subject design. It also reduces the chance of major visual drift.
這讓你能更好地掌控構圖、光線與主體設計,同時大幅降低畫面嚴重漂移的風險。
If you are using AI video generator on VideoWeb for the first time, start with a short duration and simple motion. You do not need a dramatic action scene to get a strong result.
如果你第一次使用 AI video generator on VideoWeb,先從短時長和簡單的動作開始。要得到有力的畫面,完全不需要一開始就挑戰戲劇性的動作場面。
Write a motion prompt that feels natural
撰寫自然、好掌控的動作提示詞
A good motion prompt does not need to be long. It just needs to be clear.
一個好的動作提示詞不必很長,關鍵在於清楚。
A reliable structure is:
what we see + what moves + how the camera moves + what stays stable
一個實用的寫法是:
畫面是什麼 + 什麼在動 + 鏡頭怎麼動 + 什麼要保持穩定
For example:
例如:
A cinematic portrait of a fantasy knight in moonlight. Hair moves gently in the wind, cloak shifts slightly, soft breathing motion. Slow push-in camera with subtle handheld drift. Keep face consistent, preserve outfit details, no morphing.
「一位沐浴在月光中的奇幻騎士的電影感人像。頭髮在微風中輕微飄動,斗篷略微擺動,有輕微呼吸起伏。鏡頭慢速推進,帶一點手持感的細微晃動。保持臉部一致,保留服裝細節,不要變形。」
This kind of prompt works because it tells the model what motion to add without letting the entire image collapse into chaos.
這類提示詞之所以有效,是因為它清楚告訴模型該在哪裡加入動作,同時避免整個畫面變得一團亂。
If your Grok image is already strong, small movements are often enough. That is one of the biggest lessons in VideoWeb image-to-video workflow: subtle motion usually looks more believable than aggressive motion.
如果你的 Grok 圖像本身就很扎實,通常只需要小幅度的動作即可。這也是 VideoWeb image-to-video workflow 中最重要的心得之一:細膩的微動,往往比誇張的大動作更真實可信。
Set the right duration, ratio, and resolution
設定合適的時長、比例與解析度
Inside VideoWeb AI video tool, your settings matter almost as much as your prompt.
在 VideoWeb AI video tool 裡,參數設定的重要程度幾乎不亞於你的提示詞。
For most creators, these choices work well:
對多數創作者來說,以下設定相當實用:
-
16:9 for YouTube-style cinematic clips
-
9:16 for Shorts, TikTok, and Reels
-
1:1 for square social visuals
-
16:9:偏電影感、YouTube 風格影片
-
9:16:YouTube Shorts、TikTok、Reels 等直式內容
-
1:1:方形社群視覺素材
For duration, short clips are usually safer. Five seconds is often enough for a clean teaser, loop, or product motion shot. Longer clips can work, but they demand more control and more stable source frames.
在時長上,短片會安全得多。5 秒左右通常就足夠做出乾淨的預告、循環畫面或產品動態。更長的片段不是不行,但會需要更精準的控制與更穩定的來源影格。
For resolution, begin with a practical test setting before committing to more expensive or more demanding renders. Validate the motion first. Polish later.
解析度部分,可以先用較實際的測試級別,確認動作效果沒問題,再投入更高成本或更高需求的最終渲染。先驗證動作,再追求極致畫質。
Render in passes instead of asking for everything at once
分段渲染,而不是一次要完美
One of the easiest ways to improve AI video quality is to stop trying to do everything in one render.
提高 AI 影片品質最簡單的方法之一,就是不要企圖用一次渲染搞定所有事。
Use a three-pass method:
可以試試三段式流程:
Pass 1: Stability
Keep the motion minimal. Test whether the face, product, or object stays intact.
第一階段:穩定性
先把動作設得很小,測試臉、產品或主體能否保持完整不變形。
Pass 2: Camera movement
Add a slow push-in, pan, or slide.
第二階段:鏡頭移動
再加入慢速推進、平移或滑動的鏡頭運動。
Pass 3: Atmosphere
Add rain, fog, neon flicker, dust, smoke, or light shimmer.
第三階段:氛圍效果
最後才加雨、霧、霓虹閃爍、塵埃、煙霧或光線閃動等氛圍特效。
This staged approach works extremely well inside VideoWeb AI video creator because you can spot exactly what causes the video to break.
這種分階段的做法在 VideoWeb AI video creator 裡表現特別好,因為你可以清楚看出是哪一個階段的變更讓畫面開始崩壞。
Common mistakes and how to fix them
常見錯誤與修正方式
The most common mistake is starting with a messy image. If the source frame is weak, changing the video prompt endlessly will not save it. Go back to Grok 4 AI image generator and simplify the still.
最典型的錯誤,就是一開始就用太亂的圖。如果源畫面本身就不夠穩,無止境地修改影片提示詞也救不了它。回到 Grok 4 AI image generator,先把靜態圖簡化、做好。
Other common problems include:
其他常見問題包括:
Too much motion
If faces melt or objects warp, reduce the action. Use “subtle movement” instead of “dramatic motion.”
動作太多
如果臉開始糊掉、物體明顯變形,就把動作量調低。用「細微動作」而不是「劇烈動作」來描述。
Overly busy backgrounds
Crowded scenes look impressive as stills, but often animate poorly. Simpler is safer.
背景過於複雜
擁擠的場景當靜態圖時很吸睛,但轉成動畫往往出問題。背景簡單一點會穩定得多。
Inconsistent key frames
If your sequence changes subject design too much, the final project will feel disconnected.
關鍵影格不一致
如果每一格主體設計差異太大,最後整個影片會顯得支離破碎。
Animating text-heavy images
Text and logos often distort in motion. Keep them large, simple, or add them later in editing.
為文字過多的圖做動畫
文字與 Logo 在運動中很容易扭曲變形。盡量讓它們夠大、夠簡單,或是在後製剪輯時再疊上去。
Best use cases for this workflow
這套流程最適合用在哪裡
This Grok-to-VideoWeb method is especially useful for:
這種 Grok 接到 VideoWeb 的方式,特別適合用來製作:
-
character reveal videos
-
product promos
-
fantasy or sci-fi visual teasers
-
moodboard-to-video experiments
-
social media hooks
-
dramatic poster-to-motion clips
-
角色登場影片
-
產品宣傳短片
-
奇幻或科幻風格視覺預告
-
從情緒板(moodboard)到影片的實驗
-
社群平台上的吸睛開頭片段
-
從海報延伸成動態畫面的短片
The logic is simple: let Grok 4 AI image generator handle the still design, then let VideoWeb AI handle the motion.
邏輯很簡單:讓 Grok 4 AI image generator 負責靜態設計,再交給 VideoWeb AI 來處理動態。
A simple creator loop you can repeat
一個可以不斷重複的創作者循環
Once you do this a few times, the process becomes fast:
當你重複做過幾次之後,整個流程會變得非常順手快速:
-
Create strong stills in Grok.
-
Choose the cleanest frame.
-
Upload it into VideoWeb.
-
Add a motion prompt.
-
Render a short test.
-
Refine in passes.
-
在 Grok 裡建立扎實的靜態圖。
-
挑出最乾淨、最清楚的那一張。
-
將它上傳到 VideoWeb。
-
加上動作提示詞。
-
先渲染一個短測試片。
-
以分段方式逐步微調。
That loop is much more practical than chasing “perfect one-shot AI video generation.” It is also easier to scale when you want to create multiple scenes, storyboards, or promotional clips.
這樣的循環,比起追逐所謂「一次到位的完美 AI 影片生成」實際得多。當你想做多場景、分鏡腳本或多支宣傳短片時,也更容易擴張工作量。
Final recommendation: useful tools to pair with this workflow
最後推薦:幾個能搭配這套流程的實用工具
If you want to improve your Grok-based assets even more, it makes sense to recommend a few supporting tools at the end of the article.
如果你還想進一步強化以 Grok 生成的素材,很值得在流程最後搭配幾個輔助工具。
For example, a Free Image Upscaler can help sharpen selected key frames before animation. A PNG to JPG Converter can make exports lighter and easier to manage. A JPG to WebP Converter is helpful for web publishing, while a WebP to PNG Converter can be useful when you need editing-friendly image files.
例如,Free Image Upscaler 可以在上動畫之前幫你把關鍵影格放大、銳化。PNG to JPG Converter 能讓匯出的檔案更輕、更好管理。JPG to WebP Converter 適合用於網站發布,而 WebP to PNG Converter 則在你需要較適合編輯的圖檔格式時派得上用場。
In other words, the full creator workflow can stay simple: make your frames with Grok, polish them if needed, then animate them with VideoWeb. That combination is flexible enough for beginners, but still powerful enough for creators who want a repeatable AI video pipeline.
換句話說,整個創作流程可以保持非常簡單:用 Grok 做出你的畫面,需要時再加以潤飾,然後用 VideoWeb 讓它們動起來。這樣的組合對新手來說足夠友善,對想建立可重複使用 AI 影片產線的創作者來說,也足夠強大。