If you’ve ever wanted an AI image generator that lets you iterate fast—without signing up, without a credit card wall, and without the usual “why did my prompt get rejected?” frustration—this guide is for you.
In this article, you’ll learn a practical workflow for writing better prompts, choosing the settings that actually matter, and getting stronger results—using Grok AI Image Generator on Grok Imagine unrestricted guide.
What “Unrestricted” Means (In Real Creator Terms)
When people say “unrestricted,” they often mean less friction:
- You can test more ideas quickly.
- You can refine your vision without fighting the tool.
- You can explore styles and concepts with fewer interruptions.
In other words, Grok Imagine unrestricted is best understood as a creator-friendly approach to experimentation: fewer roadblocks, more iteration, and more control over the outcome.
Why Use GrokImageGenerator.net (100% Free, No Signup)
The fastest way to learn prompting is to generate, review, tweak, and regenerate—over and over. That’s why a free, no-signup workflow is such a big deal.
Here’s what makes this tool practical for everyday creators:
- No account needed: you can start immediately.
- Quick iteration: prompt → generate → refine.
- Simple UI: one big prompt box, a few key options, and you’re off.
If you just want to start creating right now, treat this as your home base Grok Imagine guide.
Quick Start: Your First Image in Under a Minute
Open the site and you’ll see a clean interface: a large prompt box, an aspect ratio selector (for example, 16:9), and a Generate button. That’s basically everything you need.
Step-by-step
- Open the generator.
- Pick your aspect ratio (square for avatars, 16:9 for thumbnails, etc.).
- Paste a starter prompt (use one below).
- Generate.
- Adjust 1–2 details and generate again.
Starter prompt (copy/paste)
Use this if you’re not sure where to begin:
A cozy coffee shop interior at night, warm ambient lighting, rain streaks on the window, cinematic composition, high detail, soft depth of field, realistic textures
This is the core idea behind good Grok Imagine prompts: clear subject + clear mood + clear style.
Prompt Basics That Actually Improve Results
Most disappointing generations don’t happen because the model is “bad.” They happen because the prompt is unclear, overloaded, or contradictory.
A simple 4-part prompt formula
Use this structure whenever you want predictable, high-quality results:
- Subject (who/what)
- Scene (where/what’s happening)
- Style (photo, anime, illustration, poster)
- Camera / lighting (cinematic, soft light, rim light, depth of field)
That formula is the foundation of a solid Grok Imagine prompt guide.
Specificity without overloading
A common mistake is stacking too many adjectives:
- ❌ “ultra realistic, insanely detailed, hyper sharp, 8K, HDR, award winning…”
- ✅ “photorealistic, soft natural light, shallow depth of field, realistic skin texture”
Choose one clear direction. Your output will usually look cleaner and more intentional.
How to Use Grok Imagine Unrestricted Mode (The Practical Workflow)
Here’s the simplest way to think about Grok Imagine unrestricted mode:
- Start broad (get the concept right)
- Then tighten (improve details and style)
- Then polish (fix faces/hands/background clutter)
The 3-pass method
Pass 1 — Concept:
- Focus on subject + scene.
- Keep it short.
Pass 2 — Style:
- Add a style anchor (cinematic, watercolor, anime key visual).
- Add lighting and camera.
Pass 3 — Cleanup:
- Reduce clutter.
- Add “clean background” or “simple composition.”
- Clarify what matters (face, outfit, product).
This workflow makes your iterations feel purposeful instead of random.
Unrestricted Prompt Packs You Can Copy + Customize
Below are “prompt patterns” you can reuse. Don’t treat them like magic spells—treat them like templates you modify.
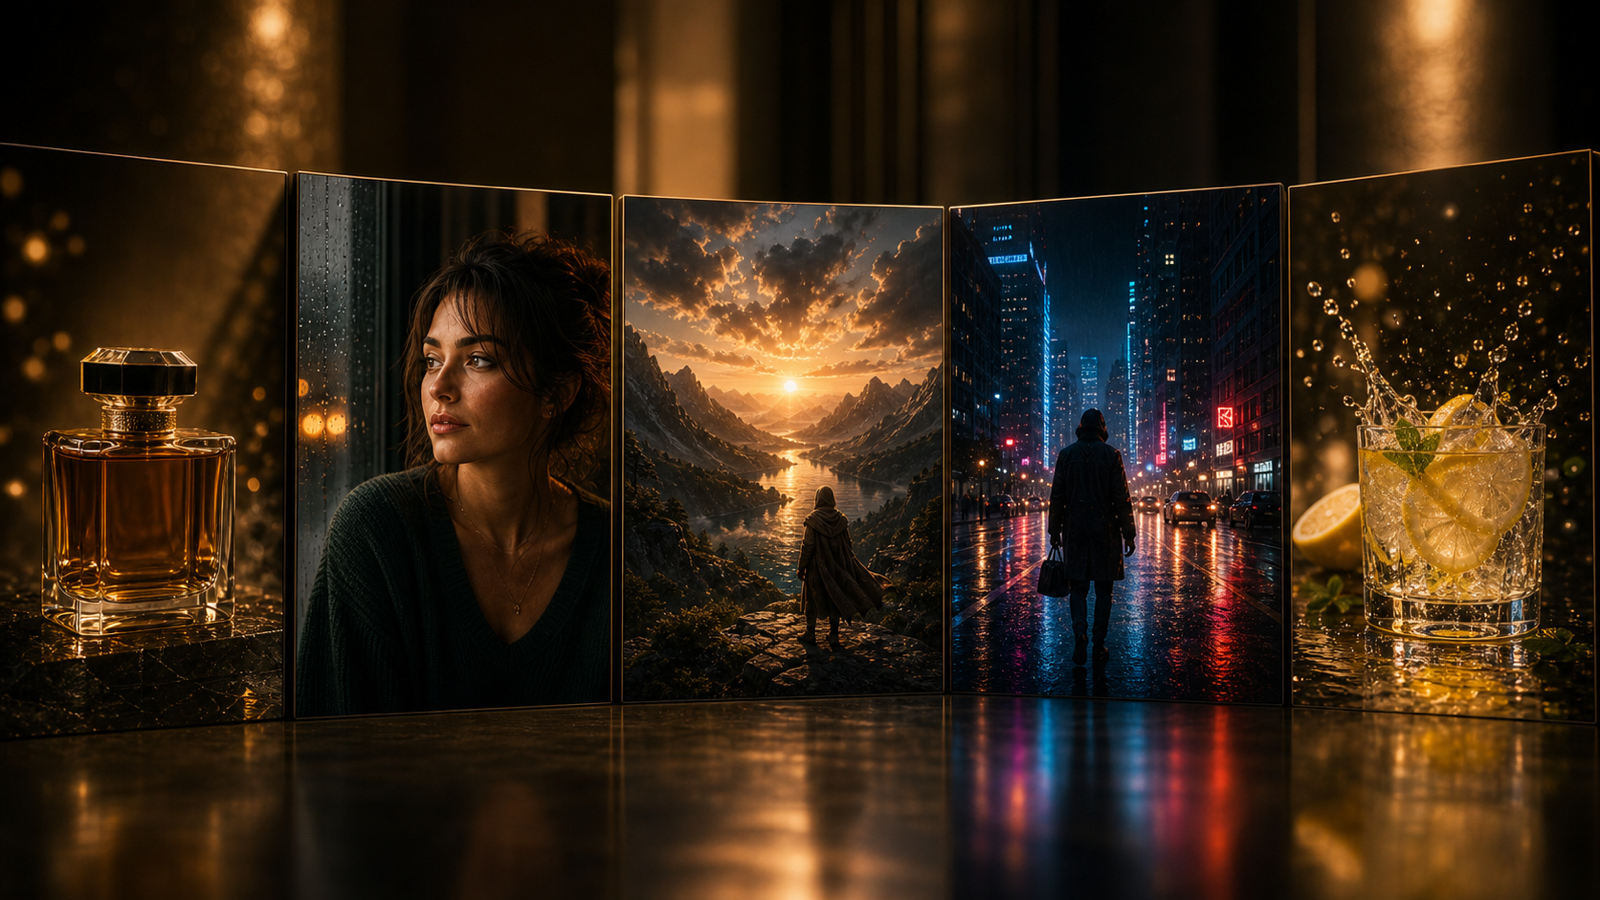
1) Cinematic / Photoreal pattern
Template:
[Subject], [scene], photorealistic, cinematic lighting, soft depth of field, realistic textures, natural color grading, sharp focus on subject
Example:
A street food chef plating ramen at a neon-lit night market, photorealistic, cinematic lighting, soft depth of field, realistic textures, natural color grading, sharp focus on subject
This is a reliable baseline for Grok Imagine unrestricted prompts when you want “movie still” vibes.
2) Anime / Illustration pattern
Template:
[Character description], [action/pose], [environment], anime illustration, clean linework, vibrant colors, dynamic lighting, detailed background
Example:
A teenage swordsman in a long coat, confident stance, windy rooftop at sunset, anime illustration, clean linework, vibrant colors, dynamic lighting, detailed background
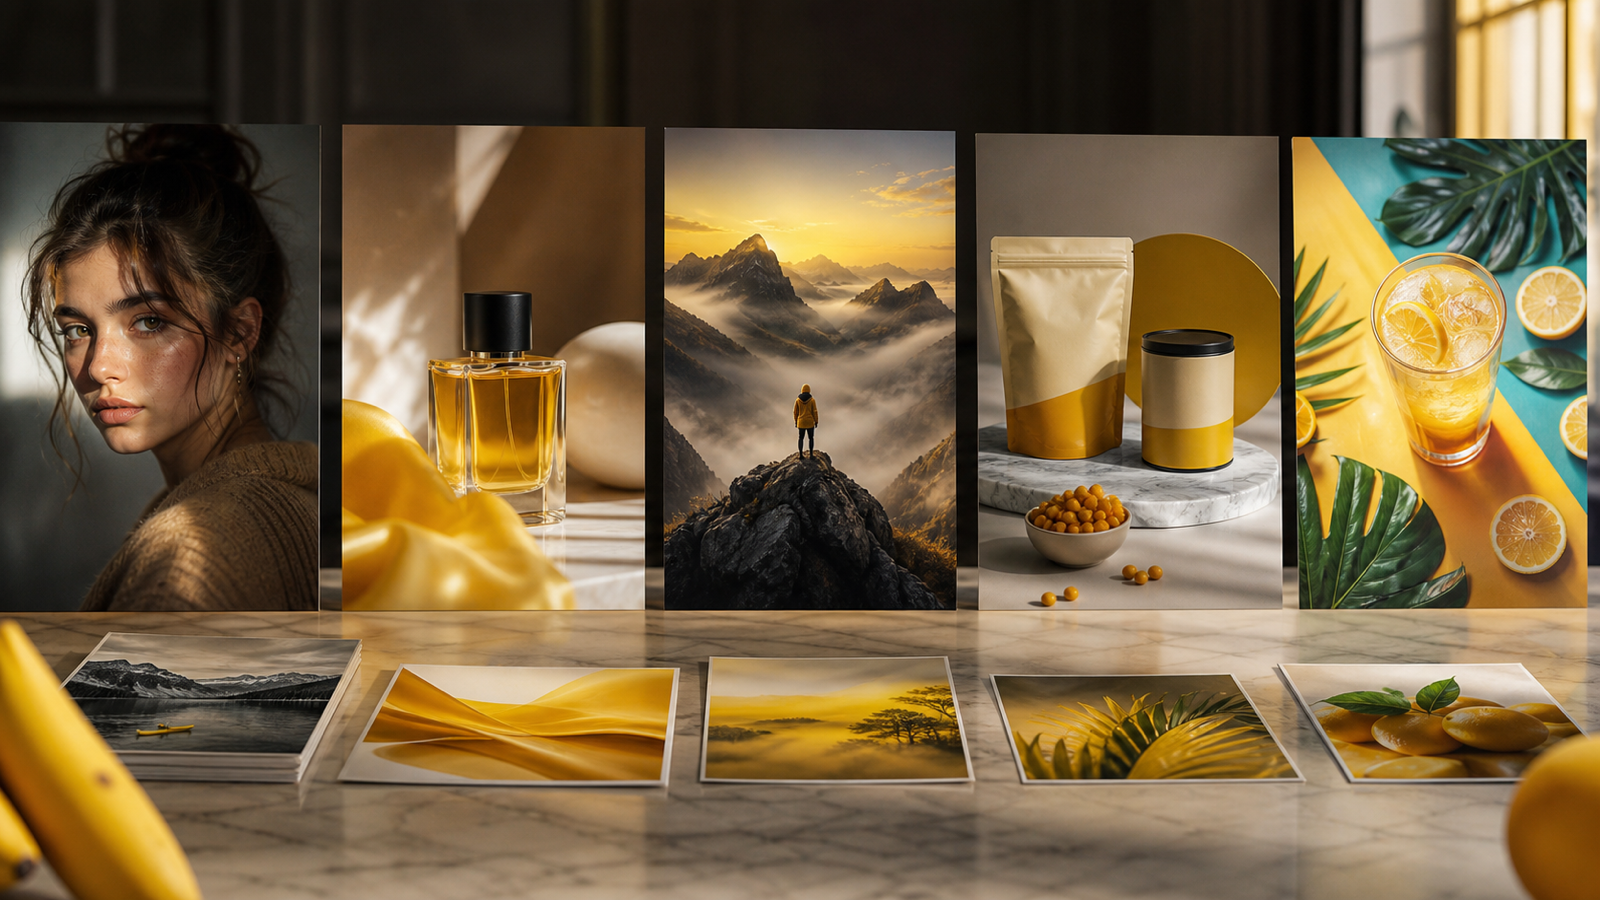
3) Product / Poster pattern
Template:
[Product], studio product shot, clean background, softbox lighting, high clarity, subtle reflections, premium advertising style
Example:
A matte black wireless earbud case, studio product shot, clean background, softbox lighting, high clarity, subtle reflections, premium advertising style
4) Surreal / Experimental pattern
Template:
[Subject], surreal concept, unexpected combination, atmospheric lighting, dreamlike mood, strong composition, high detail
Example:
A library floating in the sky with books orbiting like planets, surreal concept, atmospheric lighting, dreamlike mood, strong composition, high detail
Grok Imagine Unrestricted Settings: What Matters Most
Many tools offer a lot of knobs—but only a few consistently move the needle for most people.
Here’s the quick priority list for Grok Imagine unrestricted settings:
- Aspect ratio (match your goal)
- 1:1 for avatars and social posts
- 16:9 for thumbnails and banners
- 9:16 for vertical content
- Prompt clarity (yes, it’s “a setting” in practice)
- One subject
- One style
- One lighting direction
- Iteration discipline
- Change one thing at a time
- Keep a “best version” copy of your prompt
Recommended “defaults” for most creators
- Use a single subject.
- Use cinematic or studio lighting (pick one).
- Add “clean composition” if backgrounds get messy.
Grok Imagine No Filter Guide: Get Creative Without Making It Hard on Yourself
A lot of people chase “no filter” results by pushing prompts into chaos. But the best outputs usually come from clear intent, not edgy wording.
Think of this section as your practical Grok Imagine no filter guide:
Do this
- Describe what you want to see (objects, scene, mood)
- Use neutral, clear language
- Focus on cinematic/stylistic goals
Avoid this
- Overly aggressive or vague shock words
- Contradictory style stacks (anime + photoreal + watercolor at once)
- “Everything prompts” with 40 descriptors
You’ll get more “freedom” by being a better director—not by throwing more words at the model.
Grok Imagine Less Restricted Generation: When to Lean Into Experimentation
Some ideas should be weird. That’s where Grok Imagine less restricted generation shines:
- surreal scenes
- fashion concept art
- fantasy environments
- “dream logic” compositions
How to steer chaos (without killing creativity)
- Keep the subject stable, experiment with the scene.
- Or keep the scene stable, experiment with the style.
- Add one “anchor phrase” you always keep (e.g., “cinematic lighting” or “clean linework”).
Grok Imagine Creative Freedom Mode: Simple Advanced Tricks
Once you have decent results, you can push further—without making prompts complicated.
Use these three upgrades, especially in Grok Imagine creative freedom mode:
- Composition control
- “close-up portrait,” “wide establishing shot,” “centered composition,” “rule of thirds”
- Background control
- “minimal background,” “clean backdrop,” “soft bokeh background,” “no clutter”
- Lighting control
- “soft window light,” “rim light,” “neon glow,” “studio softbox lighting”
Pick one from each category and your images start looking designed instead of random.
Troubleshooting: Fix the Most Common Output Problems
Problem: The image is blurry or low-detail
- Add “sharp focus on subject”
- Reduce the number of subjects
- Specify lighting (softbox / cinematic)
Problem: Faces or hands look weird
- Use “close-up portrait” or “upper body portrait”
- Emphasize “natural facial features” and “realistic proportions”
- Reduce action complexity (less motion = fewer distortions)
Problem: Background is messy
- Add “clean composition” and “simple background”
- Move the scene to “studio background” for product-style results
Problem: Style is inconsistent
- Remove extra style words
- Keep one strong style anchor (anime OR photoreal OR watercolor)
Problem: The output feels too generic
-
Add one unique constraint:
- a specific location (rainy alley, rooftop sunset)
- a unique prop (golden compass, glowing umbrella)
- a defined camera angle (low angle, top-down)
Mini Workflows: Pick Your Goal and Follow the Steps
1) Avatar / Profile picture
- “close-up portrait”
- one style anchor (photoreal or anime)
- one lighting choice (soft window light)
- “clean background”
2) YouTube thumbnail concept
- 16:9 aspect ratio
- bold composition (“centered subject, strong contrast”)
- clear scene (“neon city,” “studio backdrop,” etc.)
3) Product showcase
- “studio product shot”
- “softbox lighting, subtle reflections”
- “clean background, premium advertising style”
4) Character concept art
- full-body description + outfit
- “character sheet” or “turnaround” phrasing
- “neutral background”
Wrap-Up: Start Creating in Minutes (Free, No Signup)
If you remember just one thing: get the concept right first, then refine style, then clean up details. That small discipline makes prompts feel controllable—and results improve fast.
Ready to try it?
Start generating here: Grok Imagine unrestricted guide