If you already know how satisfying it feels to generate a strong AI image, the next step is obvious: you want that image to move. Not in a chaotic, broken way—but in a controlled, cinematic way that feels usable for social media, promos, character reveals, mood pieces, and short visual storytelling.
That is where this workflow becomes practical. You can create your key frames for free with Grok 4 AI Image Generator, then bring those still images into the VideoWeb AI video generator to turn them into short clips with motion, camera direction, and atmosphere.
This guide walks through the full process in a simple, human way: plan your frames, generate consistent images, animate them, refine the motion, and avoid the mistakes that usually make AI videos fall apart.
Why this Grok + VideoWeb workflow works
A lot of creators make the same mistake at the start: they expect one video prompt to do everything. In reality, AI video results usually get much better when you separate the workflow into two stages.
First, you build strong still images. Second, you animate them.
That is why pairing Grok 4 image generation with VideoWeb AI for video creation makes sense. Grok helps you quickly create visual concepts and clean key frames. VideoWeb then handles the video side, including start-frame upload, motion prompting, duration, ratio, and rendering.
Instead of forcing a model to invent everything at once, you give it a visual foundation first. That usually leads to cleaner motion, better consistency, and less wasted time.
Start with a simple video idea
Before opening any tool, decide what kind of clip you actually want.
The best beginner projects are simple:
- a product hero shot
- a fantasy character reveal
- a cinematic portrait
- a short anime-style loop
- a moody environment shot
- a quick social teaser
Once you have the idea, break it into 3 to 6 key moments. For example, if you are making a character reveal, your sequence might be:
- opening still portrait
- closer emotional frame
- dramatic side angle
- ending hero shot
That small amount of planning helps a lot later when you move into VideoWeb AI image-to-video, because you are no longer guessing what the video should become.
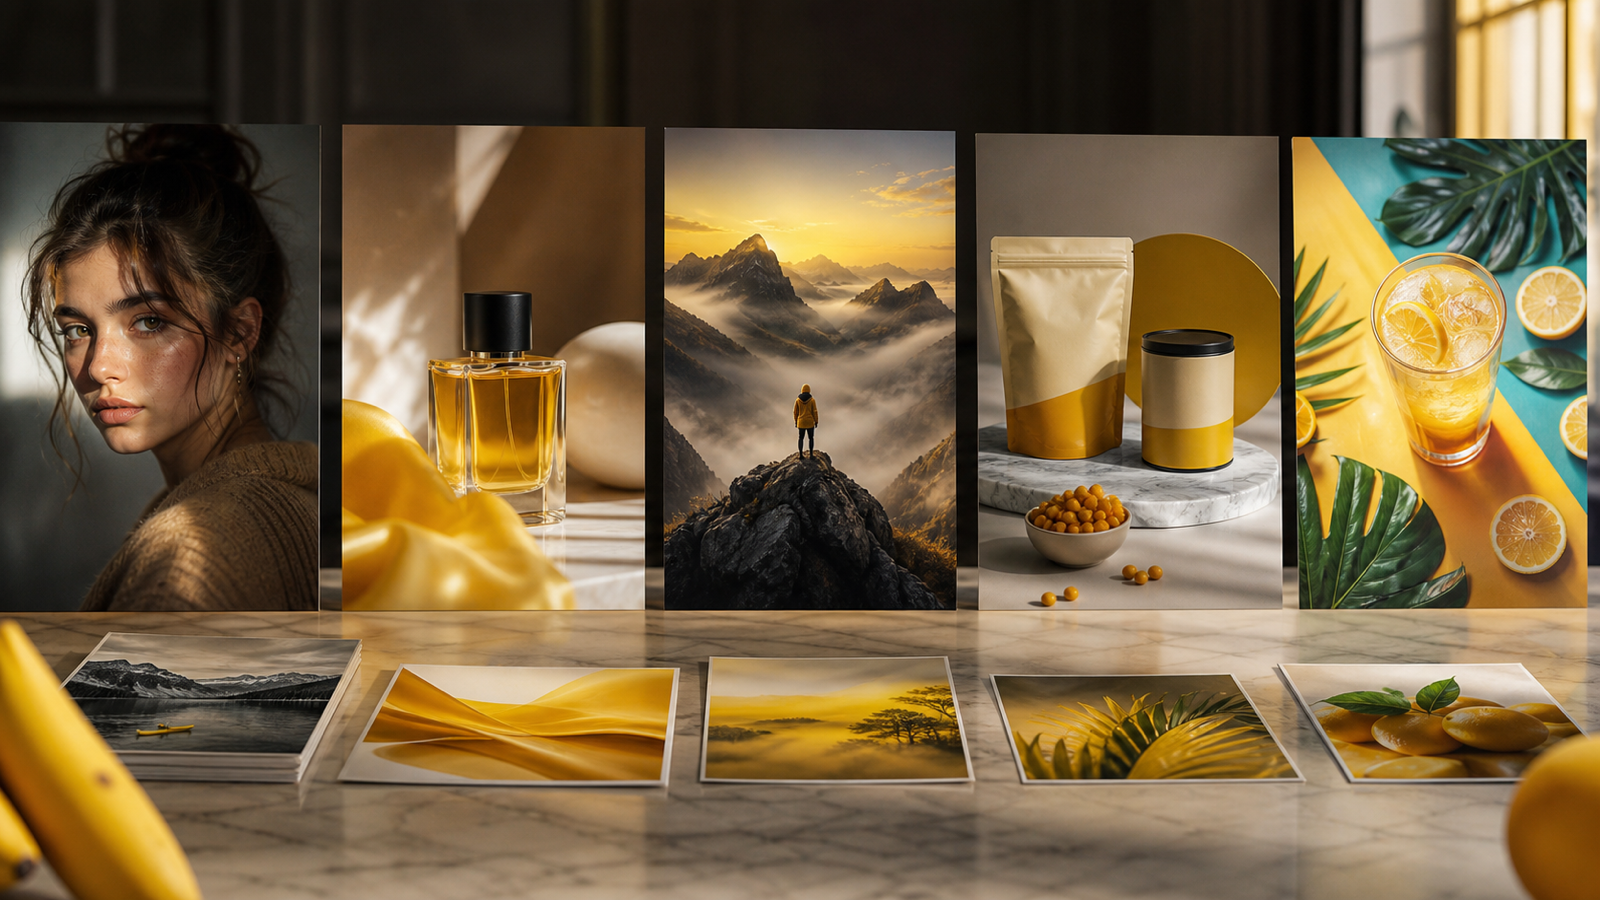
Generate your key frames for free with Grok
Now it is time to create the visuals. Use Grok 4 AI image generator to make the still images that will act as your key frames.
A good key frame usually has four things:
- a clear subject
- readable lighting
- a simple composition
- enough depth for motion to feel natural
If the frame is too busy, the animation stage often becomes unstable. Small faces may drift. Hands may warp. Background elements may melt together. That is why it helps to keep your frames clean.
When using the free Grok image generator, do not stop at one image. Generate several versions of the same idea. Even if two images look similar, one may animate much better later.
A practical trick is to keep the same subject description across all frames. Reuse details like clothing, hairstyle, product color, setting, lighting mood, and camera angle. That consistency will matter when you move your visuals into VideoWeb’s AI video tool.
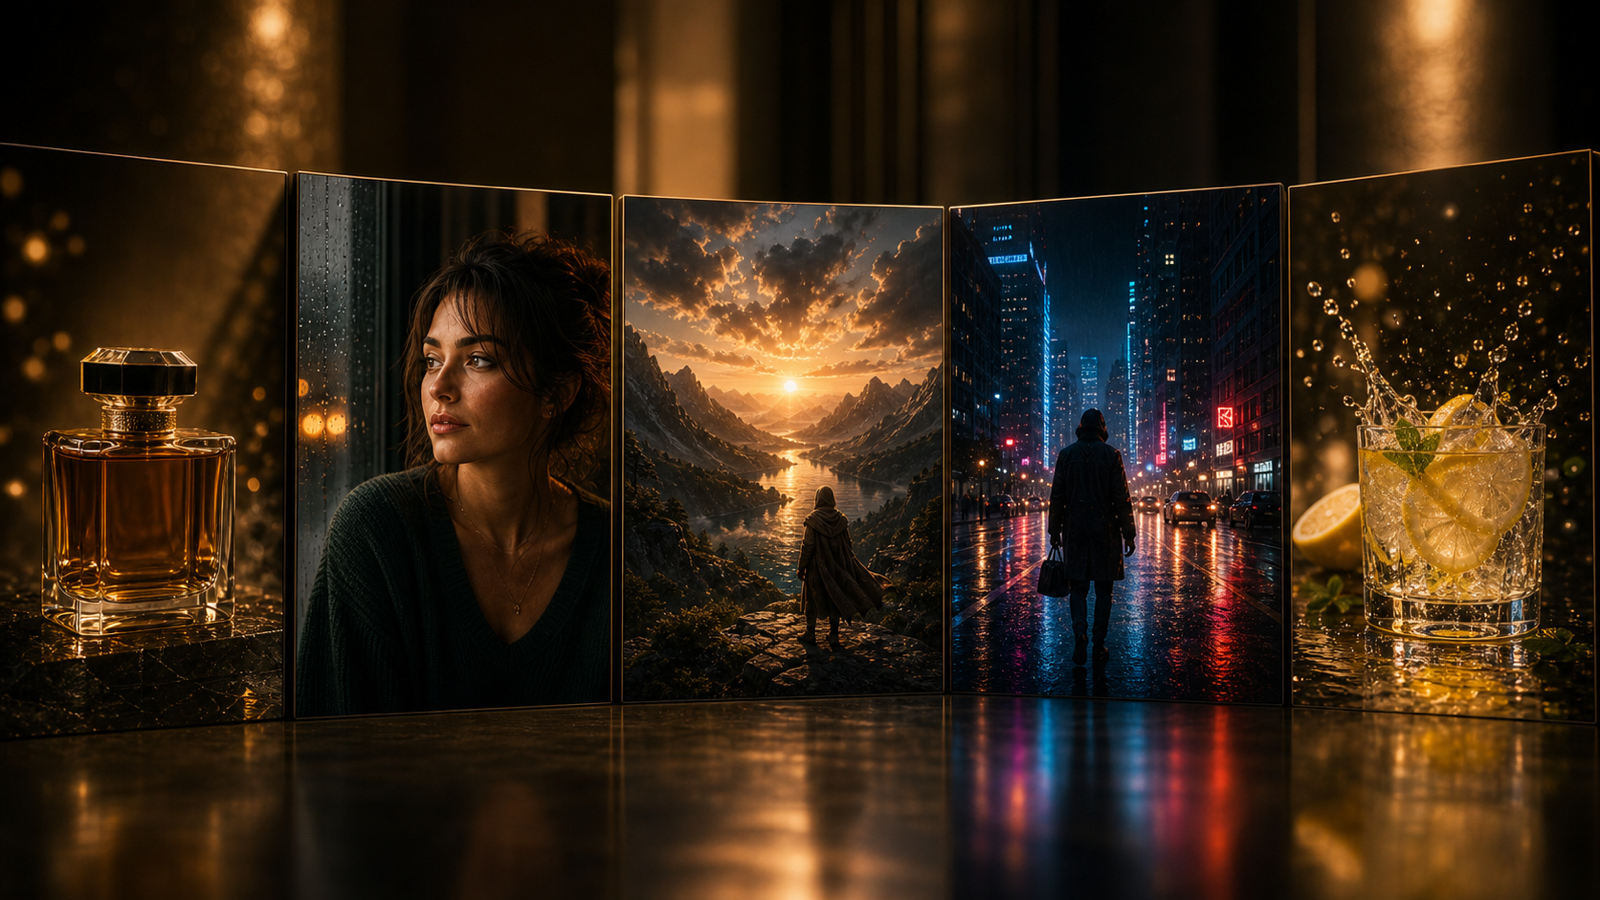
Keep your frames consistent before animation
Consistency is what separates an interesting AI video from a random one.
If your first frame shows a blue jacket, soft backlight, and a rainy neon street, your next frame should not suddenly become a different jacket, different face, and different environment—unless that change is intentional.
Try to keep these elements stable:
- subject identity
- clothing or product design
- color palette
- environment
- lens feel or camera distance
- aspect ratio
This step is especially important if you want to build something more than a single moving shot. Whether you are making a promo, teaser, or short sequence, consistency gives VideoWeb AI video generation a better starting point.
Choose the best frame before you animate
Once you have several Grok images, pause and choose carefully.
The best animation source image is not always the most detailed one. It is usually the one with:
- the clearest subject shape
- the cleanest background separation
- the strongest sense of depth
- the least visual clutter
If you only want a single moving clip, one strong image is enough. If you want something more cinematic, prepare multiple stills in Grok AI image generation and turn them into separate clips later.
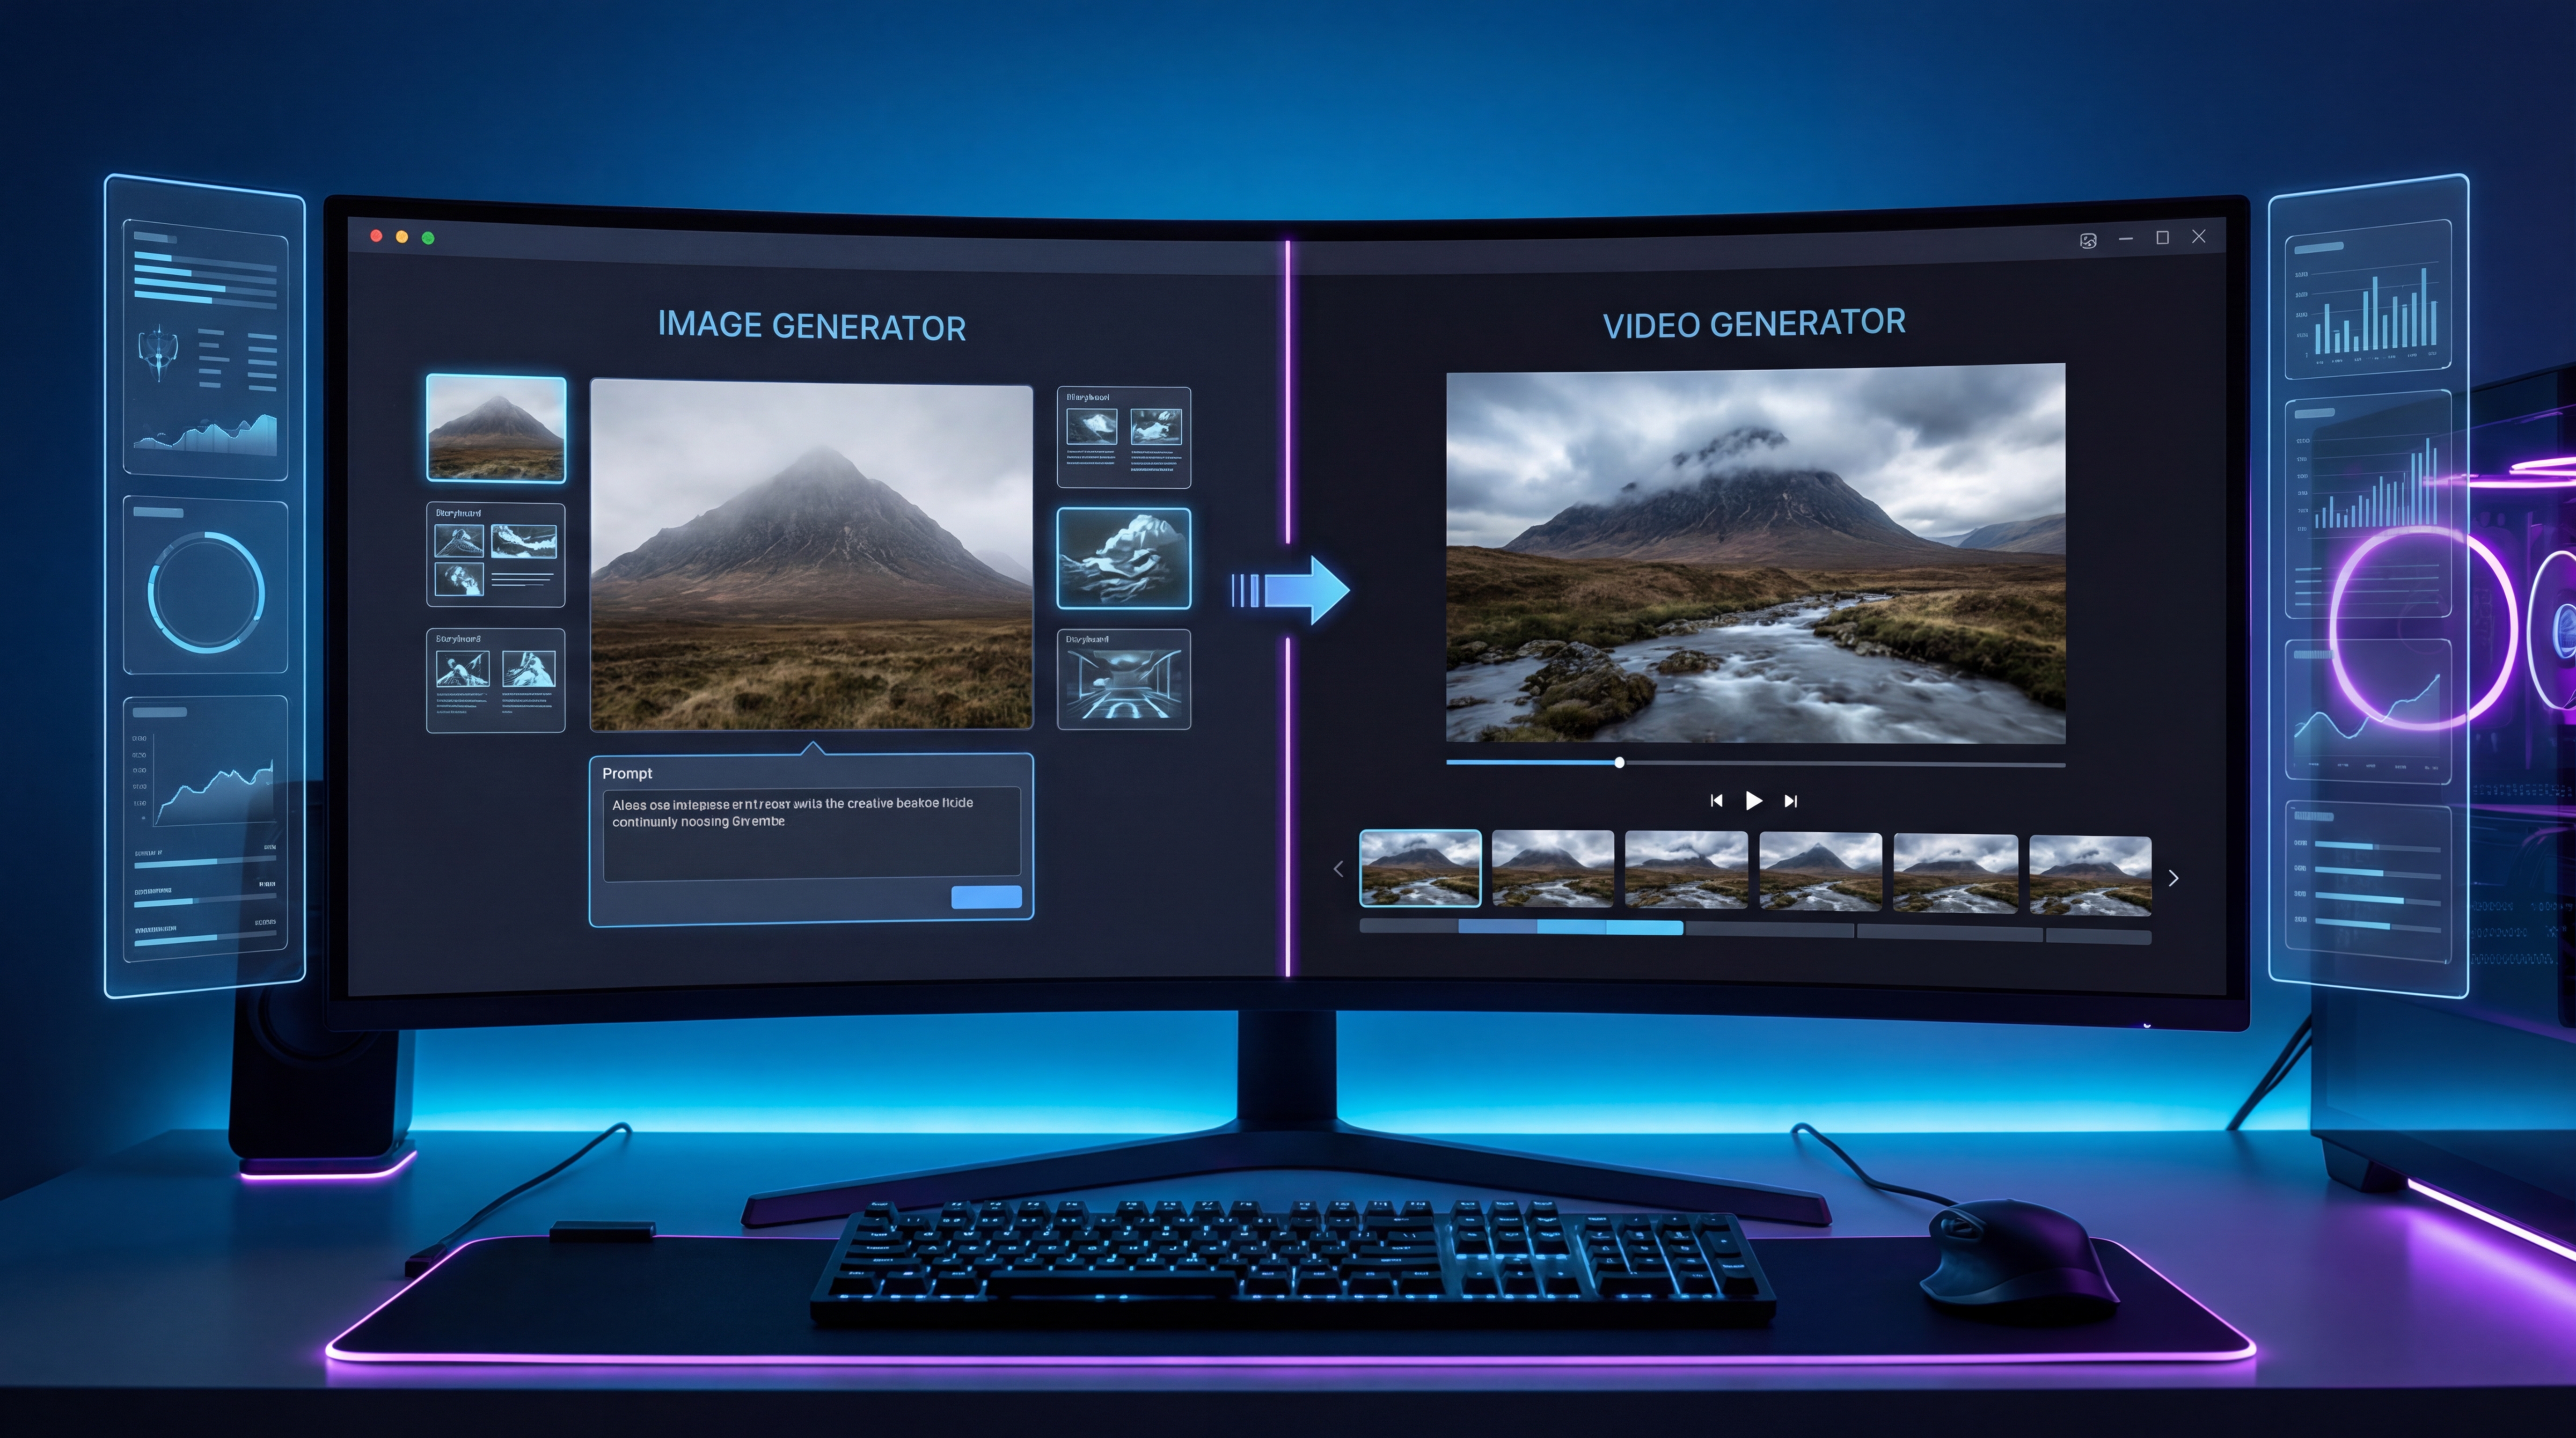
Upload the start frame into VideoWeb AI
Open the VideoWeb AI video generator and upload your chosen image as the start frame.
This is where the workflow becomes easier than text-only video generation. Instead of asking the model to imagine the whole scene, you are showing it exactly what the video should begin with.
That gives you more control over composition, lighting, and subject design. It also reduces the chance of major visual drift.
If you are using AI video generator on VideoWeb for the first time, start with a short duration and simple motion. You do not need a dramatic action scene to get a strong result.
Write a motion prompt that feels natural
A good motion prompt does not need to be long. It just needs to be clear.
A reliable structure is: what we see + what moves + how the camera moves + what stays stable
For example:
A cinematic portrait of a fantasy knight in moonlight. Hair moves gently in the wind, cloak shifts slightly, soft breathing motion. Slow push-in camera with subtle handheld drift. Keep face consistent, preserve outfit details, no morphing.
This kind of prompt works because it tells the model what motion to add without letting the entire image collapse into chaos.
If your Grok image is already strong, small movements are often enough. That is one of the biggest lessons in VideoWeb image-to-video workflow: subtle motion usually looks more believable than aggressive motion.
Set the right duration, ratio, and resolution
Inside VideoWeb AI video tool, your settings matter almost as much as your prompt.
For most creators, these choices work well:
- 16:9 for YouTube-style cinematic clips
- 9:16 for Shorts, TikTok, and Reels
- 1:1 for square social visuals
For duration, short clips are usually safer. Five seconds is often enough for a clean teaser, loop, or product motion shot. Longer clips can work, but they demand more control and more stable source frames.
For resolution, begin with a practical test setting before committing to more expensive or more demanding renders. Validate the motion first. Polish later.
Render in passes instead of asking for everything at once
One of the easiest ways to improve AI video quality is to stop trying to do everything in one render.
Use a three-pass method:
Pass 1: Stability Keep the motion minimal. Test whether the face, product, or object stays intact.
Pass 2: Camera movement Add a slow push-in, pan, or slide.
Pass 3: Atmosphere Add rain, fog, neon flicker, dust, smoke, or light shimmer.
This staged approach works extremely well inside VideoWeb AI video creator because you can spot exactly what causes the video to break.
Common mistakes and how to fix them
The most common mistake is starting with a messy image. If the source frame is weak, changing the video prompt endlessly will not save it. Go back to Grok 4 AI image generator and simplify the still.
Other common problems include:
Too much motion If faces melt or objects warp, reduce the action. Use “subtle movement” instead of “dramatic motion.”
Overly busy backgrounds Crowded scenes look impressive as stills, but often animate poorly. Simpler is safer.
Inconsistent key frames If your sequence changes subject design too much, the final project will feel disconnected.
Animating text-heavy images Text and logos often distort in motion. Keep them large, simple, or add them later in editing.
Best use cases for this workflow
This Grok-to-VideoWeb method is especially useful for:
- character reveal videos
- product promos
- fantasy or sci-fi visual teasers
- moodboard-to-video experiments
- social media hooks
- dramatic poster-to-motion clips
The logic is simple: let Grok 4 AI image generator handle the still design, then let VideoWeb AI handle the motion.
A simple creator loop you can repeat
Once you do this a few times, the process becomes fast:
- Create strong stills in Grok.
- Choose the cleanest frame.
- Upload it into VideoWeb.
- Add a motion prompt.
- Render a short test.
- Refine in passes.
That loop is much more practical than chasing “perfect one-shot AI video generation.” It is also easier to scale when you want to create multiple scenes, storyboards, or promotional clips.
Final recommendation: useful tools to pair with this workflow
If you want to improve your Grok-based assets even more, it makes sense to recommend a few supporting tools at the end of the article.
For example, a Free Image Upscaler can help sharpen selected key frames before animation. A PNG to JPG Converter can make exports lighter and easier to manage. A JPG to WebP Converter is helpful for web publishing, while a WebP to PNG Converter can be useful when you need editing-friendly image files.
In other words, the full creator workflow can stay simple: make your frames with Grok, polish them if needed, then animate them with VideoWeb. That combination is flexible enough for beginners, but still powerful enough for creators who want a repeatable AI video pipeline.